
A blackout roller blind is more than a sheet of fabric. Its light-blocking layer, stitched or sealed edges, bottom bar and roller mechanism all affect how it should be cleaned. A blind can look dusty from the room side while the coated side facing the window has condensation marks. Treating both sides with the same spray or soaking the fabric can leave rings, soften an adhesive or damage a backing that cannot be repaired by cleaning.
For most blinds, regular light dust removal is the safest starting point. A small mark may respond to a careful spot clean if the manufacturer permits it. Deep staining, peeling coatings and stiffness in the mechanism call for different decisions. Use this sequence to work out which part needs attention and how far to go without turning a minor mark into a larger defect.
Identify the blind before touching a stain
Look for the maker's label or care sheet. Some blackout blinds use a woven face with a coated backing; others have a laminated layer or a more rigid wipeable surface. Instructions may prohibit water, solvents, scrubbing or machine washing. A dark colour does not tell you what the backing is. If the label is absent, take a clear photograph of the front, back, edge and roller, and ask the retailer if you can identify the product.
Lower the blind fully, but do not tug it past its normal stop. Inspect in daylight from both sides. Is the mark loose dust, a splash, grease, mildew-like spotting or damage to the coating? If a small area looks shiny, cracked or flaky, cleaning is unlikely to restore its light-blocking properties. Look for ripples or a curled edge, too. These can come from heat, moisture, wear or an installation problem rather than surface dirt.
The broader guide to blinds and curtains covers several window-treatment types. A blackout roller blind deserves special care because its coating and roll need to remain flat. Do not borrow a cleaning method from Venetian slats, washable curtains or a different blind without checking compatibility.
Begin with dry dust removal
Dust collects at the top edge, on the exposed fabric and along the bottom bar. Start with the blind lowered and the window closed to avoid a sudden draught. Use a clean, soft microfibre cloth or a vacuum with an appropriate soft brush attachment at low suction. Support the fabric lightly behind the area being cleaned if you can reach it safely. Move from top to bottom in gentle strokes, without pulling the blind sideways.
Do not press the cloth into the roller opening or drag a brush across a frayed edge. A vacuum nozzle with strong suction can wrinkle light fabric or disturb the alignment. If the blind is mounted high, use a stable step platform only if you can work comfortably; avoid leaning across furniture or an open window. For an awkward installation, ask for help rather than stretching to clean the back.
Dust the sill and frame separately. Dirt on the sill can transfer back to the bottom bar each time the blind is lowered. The article on cleaning windows without window cleaner offers ideas for glass and surrounding surfaces, but keep glass-cleaning liquid away from the blind and its fittings. Finish with a dry cloth on the bottom bar if its material allows it.
Test any spot treatment on a hidden area
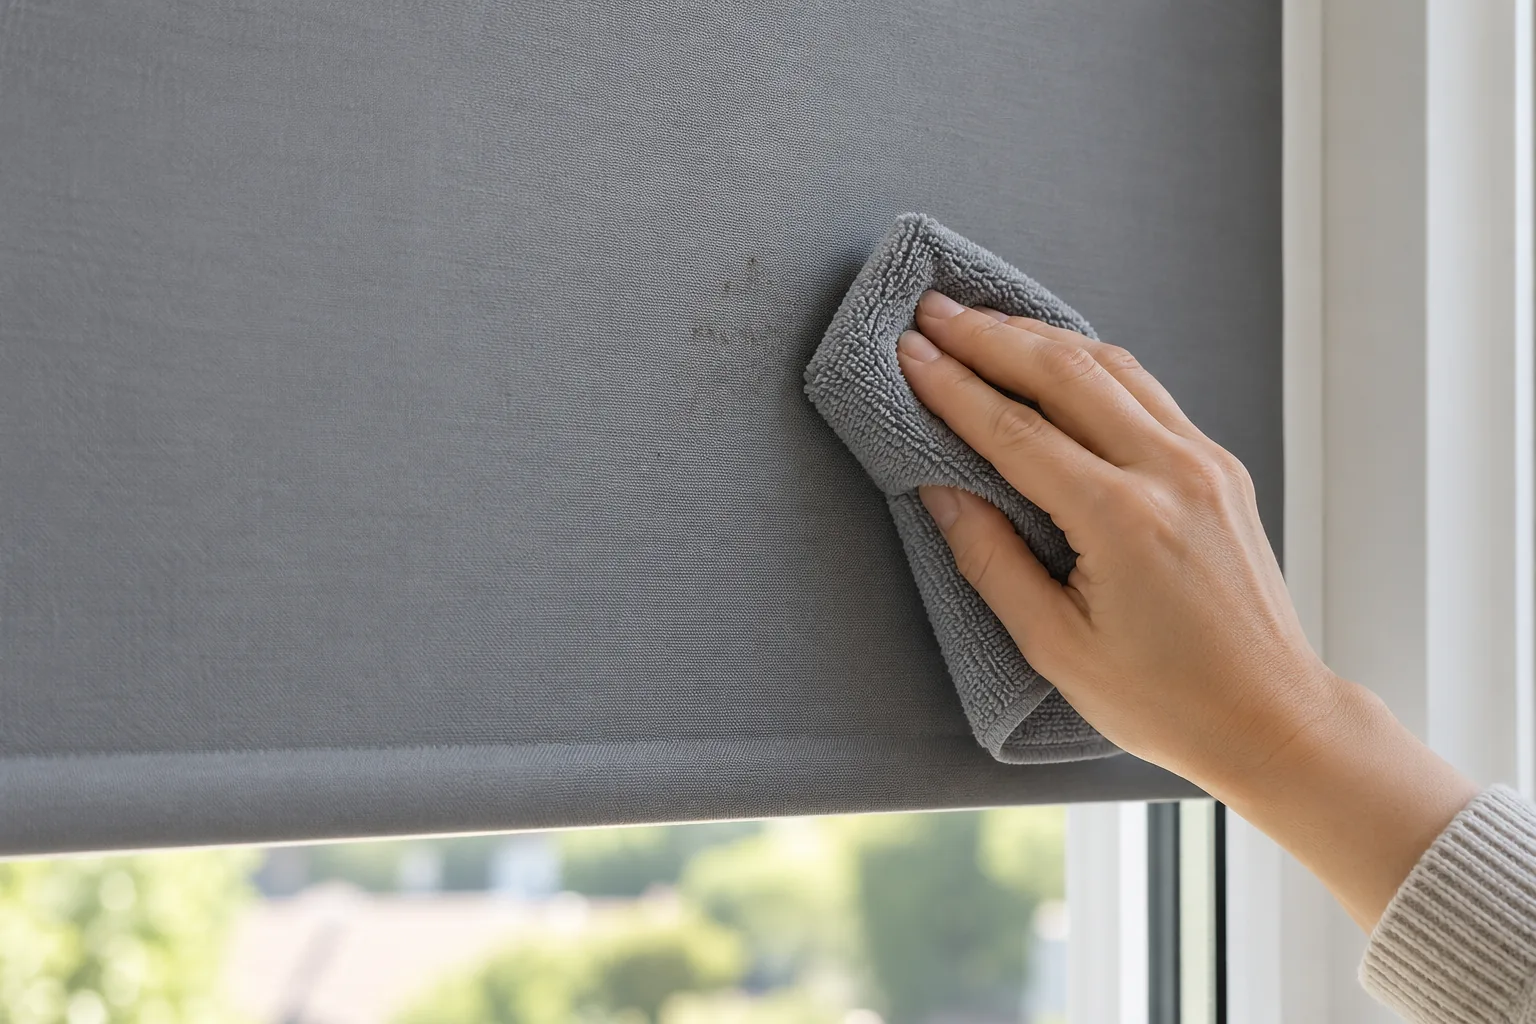
If the manufacturer's instructions allow damp cleaning, test the recommended method near a concealed lower corner. Use only a small amount of liquid on a cloth, never a spray directed at the blind. Blot gently and allow the test area to dry fully before deciding whether the colour, surface texture or light-blocking layer has changed. An apparently successful wet test may reveal a tide mark only after drying.
Keep the cloth barely damp for a small fresh mark. Work from the outer edge towards the centre without rubbing the coating. Do not saturate the seam or bottom pocket, where moisture can be slow to escape. If the stain is sticky or oily, water alone may spread it. Use only a product the maker approves for that surface, and stop if colour transfers to the cloth, the coating becomes tacky or the mark grows.
Do not use bleach, strong solvent, abrasive sponge or steam by default. Heat can distort laminated layers, and harsh chemistry can strip or discolour a coating. A magic eraser may feel gentle in the hand but works by abrasion; it can change the finish. If there is no care guidance, dry dust removal followed by a professional assessment is a safer choice than experimenting on a prominent patch.
Protect the roller and controls
The roller tube, chain or spring mechanism should operate smoothly before and after cleaning. If the blind is crooked as it rolls, inspect for a loose bracket, uneven mounting or fabric that has shifted on the tube. Do not pull harder to force it straight. Keep cleaning moisture away from metal ends, motor housings and electrical controls. For a powered blind, follow the maker's isolation and maintenance instructions before working near the mechanism.
The control chain and accessible plastic fittings can often be dusted with a separate cloth. Follow the manufacturer's advice for further cleaning, particularly where child-safety devices are fitted. Do not remove a chain retainer or safety clip simply to reach a dirty patch. If a component is broken or missing, arrange repair so the blind remains safe to use. Cleaning fabric cannot fix a worn clutch or bent roller.
After a damp spot treatment, leave the blind fully lowered until the treated area is completely dry. Rolling a damp coating tightly onto itself can trap moisture, transfer a mark to the next layer or make surfaces stick together. Ventilate the room without letting a strong draught knock the blind against the window or sill.
Deal with condensation at the window
The back of a blackout blind can sit close to cold glass. If moisture repeatedly gathers on the pane, the window-facing layer may stay damp even though the room-facing fabric looks dry. Check the frame, seal and sill for water marks. Wipe condensation from the glass and improve ventilation according to the room's needs. A cleaning visit can remove accessible deposits, but repeated moisture may call for attention to ventilation, heating or the window itself.
If you see widespread spotting or smell persistent mustiness, avoid simply spraying the blind with a fragrance or disinfectant. First identify where the moisture is coming from. A badly affected coating may need replacement; the blind maker can advise whether the fabric can be replaced while retaining the mechanism. For a single small mark, cleaning may be worthwhile if the material is sound and the approved method is clear.
Know when cleaning has reached its limit
Dust and light surface marks are cleaning tasks. Cracked backing, flaking foam, distorted edges and deep staining through a laminate may not be. Compare the cost and likely result of specialist care with replacement fabric or a new blind. If blackout performance matters for sleep, inspect the blind against daylight after it is dry; a pale spot can be a break in the coating rather than residue waiting to be scrubbed away.
For curtains in the same room, the materials and construction may permit a different process. A curtain cleaning assessment can be useful when several window treatments need attention. If the main issue is dust across the room, domestic cleaning can address accessible surfaces around the window while the blind itself is handled according to its own care instructions.
Keep a simple routine: dust gently while the blind is fully lowered, wipe the window and sill separately, test any permitted spot treatment and let the fabric dry before rolling it away. Where the coating or mechanism is failing, seek a repair or replacement opinion. This protects the light-blocking layer and helps you avoid spending time on damage that surface cleaning cannot reverse.