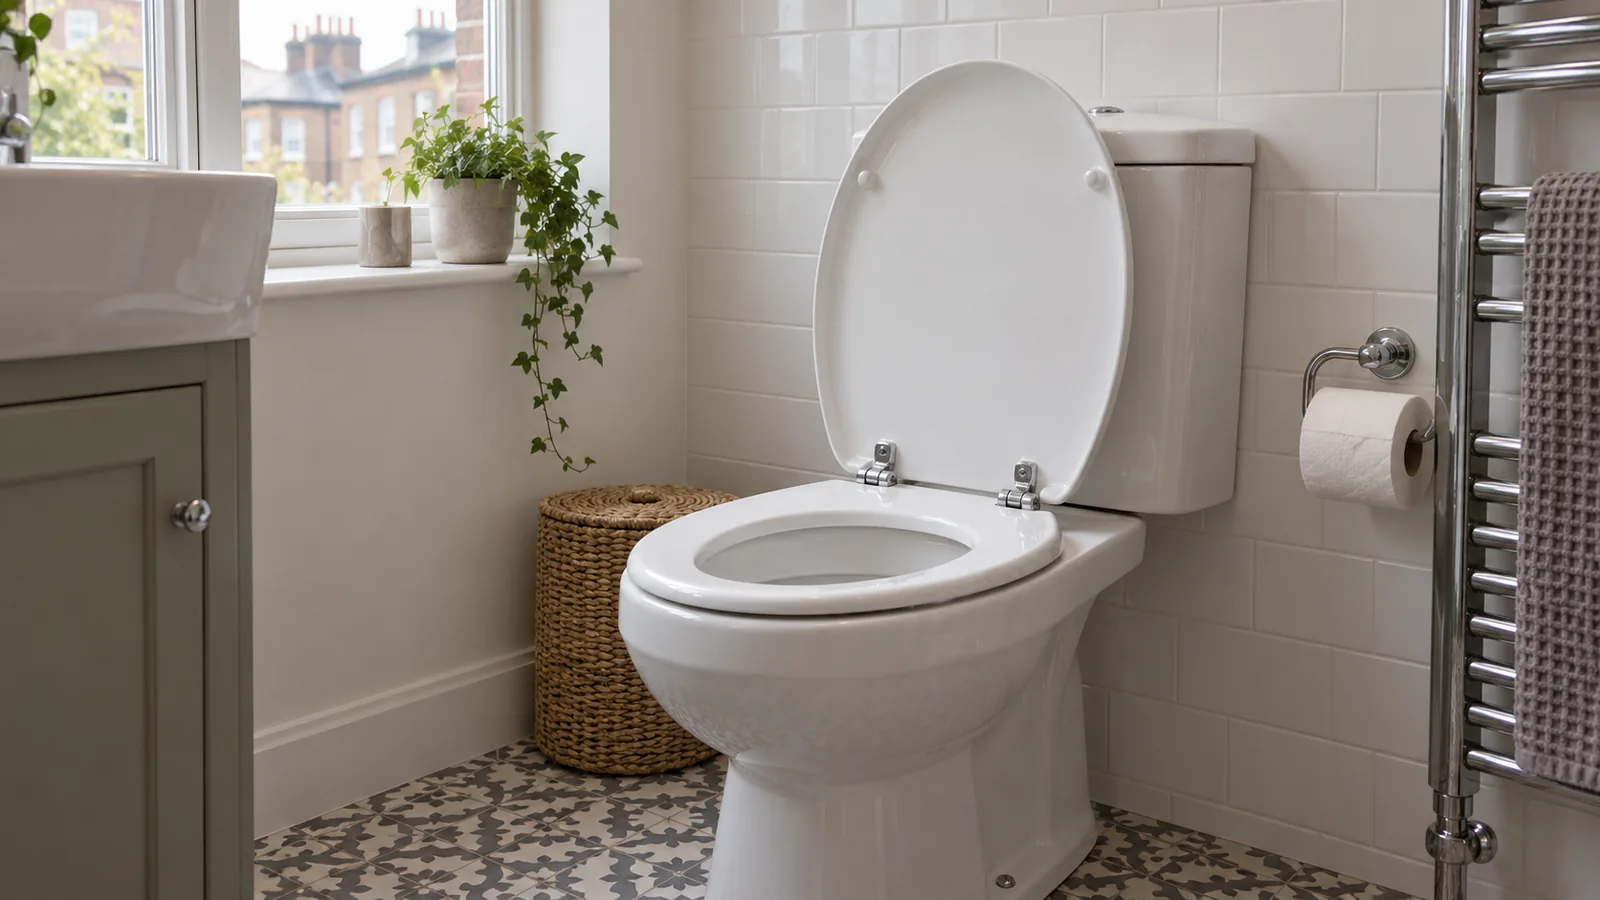
The narrow space where a toilet seat meets the pan can collect dust, water marks and cleaning residue even in a bathroom that looks tidy. Hinges, caps and fixings make it awkward to reach with a normal cloth. Some seats lift off with a quick-release button; others are secured with bolts that should stay in place during routine cleaning. Knowing which type you have makes the job both easier and less likely to end with a loose or damaged seat.
This guide focuses on cleaning around the hinge area and putting a removable seat back securely. The bowl and floor need their own methods. Do not force plastic clips or soak metal fixings in a harsh product to remove a cosmetic mark. A seat that wobbles after cleaning may need adjustment or replacement rather than more wiping.
Identify the hinge design
Look for a button, lever or marked cap near the rear of the seat. The maker's instructions may show a quick-release mechanism that lifts the seat and lid together from two fixed posts. If there is no clear release, do not pull upwards. Some designs require a tool or access beneath the pan, and routine cleaning can be done around them without dismantling.
Photograph the seat and hinge before moving anything. Note how the caps sit and whether the seat is already aligned. Check for cracks in plastic, corrosion on metal, missing screws or a wobble. If the seat is damaged, plan to replace or repair it rather than expecting a clean to restore stability. Avoid leaning your weight on the raised seat while working.
The guide to cleaning behind the toilet covers the floor and wall beyond the pan. The hinge zone is separate: it needs small, controlled tools and attention to the fitting's construction.
Begin with loose dirt
Put on suitable household gloves and remove items from the tank or shelf that could fall. Use a dry soft brush or folded cloth to lift hair and dust from the exposed ceramic behind the seat. A small vacuum crevice tool may help if it can be kept away from loose hinge caps. Remove dry debris before adding liquid so it does not become a film in the joint.
For fixed hinges, fold a clean cloth into a narrow edge and work around each base. A soft brush can reach a shallow crevice. Avoid pushing a sharp implement under a cap; it may gouge plastic or damage the seal around a fixing. Do not pour cleaning liquid into a bolt hole or hidden joint, where it may remain trapped.
For routine marks, use a mild product suitable for the seat, ceramic and hinge finish, following its label. Apply it to the cloth rather than spraying broadly. Wipe the fitting and surrounding ceramic, then remove residue and dry. A different product may be needed for the inside of the toilet bowl, but keep bowl cleaner away from seat plastics and metal hinges.
Use quick release only as instructed
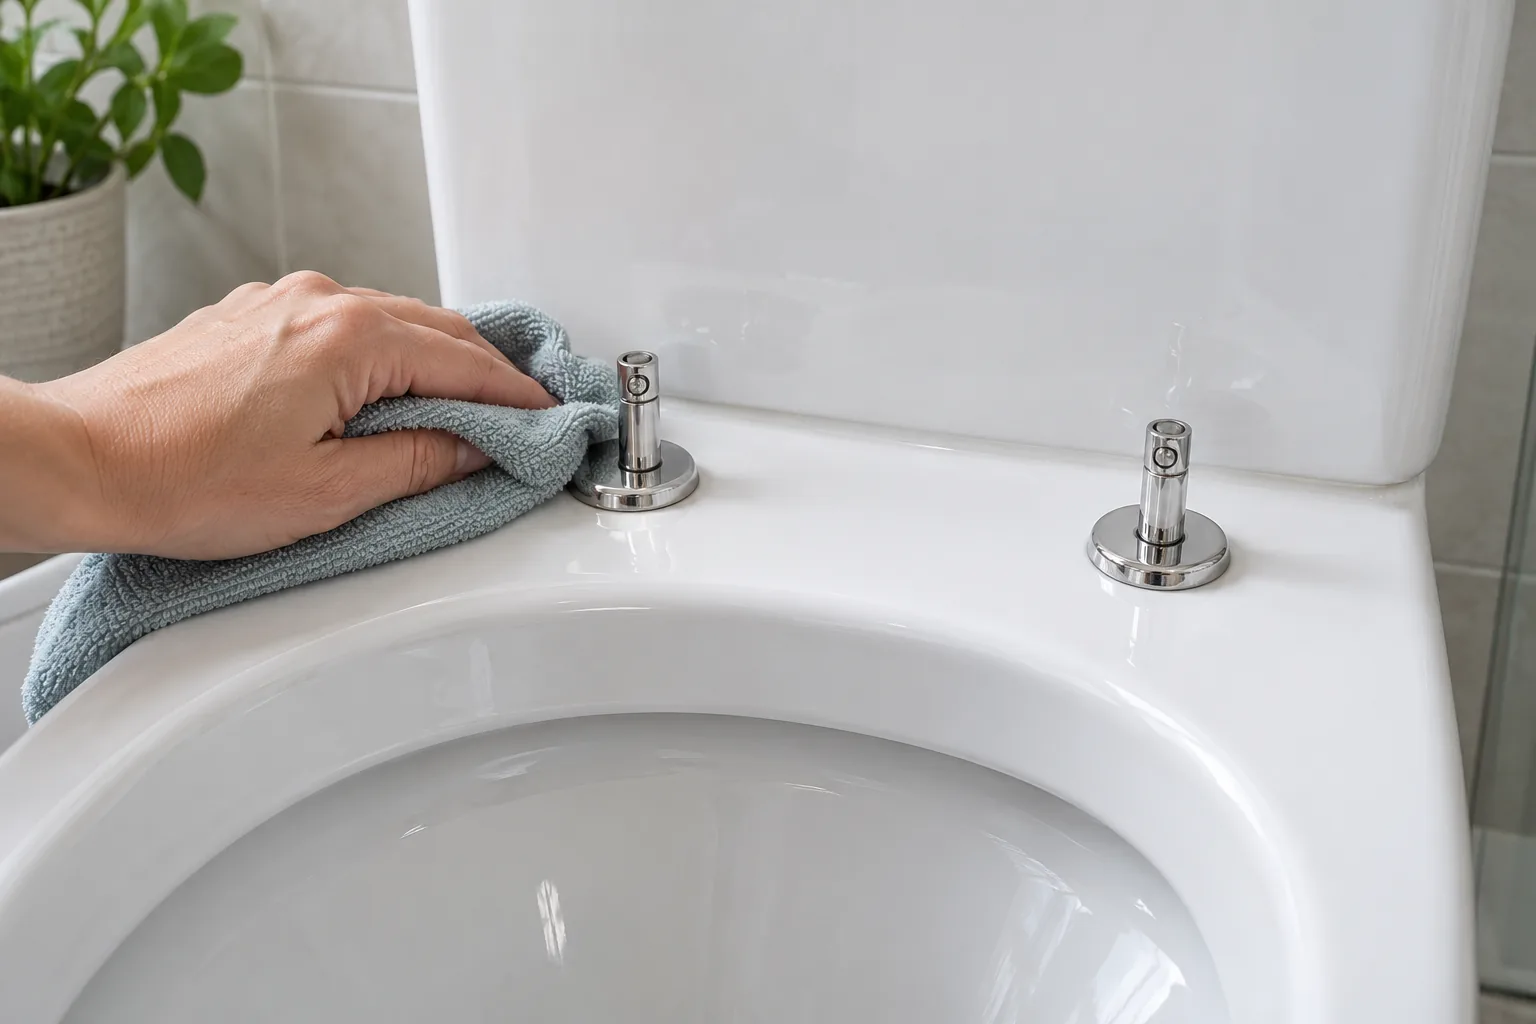
If the seat maker provides a quick-release function, operate it exactly as described. Lift the seat without twisting it across the posts. Place it on a protected surface where it cannot fall or contaminate towels and toiletries. The exposed ceramic behind the hinges is now easy to wipe. Clean the underside of the seat and the hinge sockets with a compatible method, keeping water out of any mechanism the maker says must stay dry.
Wipe the posts, caps and ceramic base. Check for residue collected in a ring around each post. A soft cloth edge is usually enough; strong descaler may damage plating or seals. If mineral scale is present, use only a method approved for the hinge finish and nearby ceramic, with a short controlled contact time. Rinse and dry before the seat goes back on.
Refit the seat by aligning both sockets over their posts and pressing or locking as the instructions specify. Check that it is fully engaged and opens and closes normally. Do not use it if one side is loose. A quick-release button that no longer holds needs a suitable replacement part or seat, not a stronger push during cleaning.
Keep products separate by surface
The bowl may tolerate a product that the seat, chrome hinge or painted wall does not. The toilet bowl cleaning guide focuses on the interior porcelain. At the hinge, use a product that explicitly suits plastic and metal fittings. Avoid abrasive pads that scratch glossy seat material. Never mix chemicals, particularly bleach with acidic toilet cleaner or descaler.
Use separate cloths for the hinge zone and other bathroom surfaces. After cleaning, wash reusable cloths as appropriate and let them dry. Wipe the flush button and nearby touch points with a compatible method. Do not leave a wet cloth under the hinge or close the lid over a puddle of cleaner.
If a child seat or other attachment shares the hinge area, follow that product's instructions too. Removing one part may change how another locks. Take a photograph before disassembly and return every component to its intended place. Hygiene matters, but secure fitting matters as well.
Deal with a wobbly or corroded fixing
If the seat shifts sideways, check the manufacturer's adjustment instructions. Some top-fix fittings can be tightened from above; others require access underneath. Do not keep turning a bolt that spins without gripping or use excessive force on ceramic. A cracked mount, stripped plastic thread or rusted bolt may need replacement. If the pan itself is cracked near a fixing, stop using the seat and arrange appropriate repair advice.
A dark mark at a hinge can be transferred rust or deteriorating plating rather than ordinary dirt. Clean gently and inspect dry. Scrubbing a corroded fitting cannot return it to a sound finish. Replacement may be quicker and more hygienic than repeated chemical treatment. Use parts compatible with the pan and seat so it stays aligned.
Check for water that repeatedly appears around the hinge after wiping. It might come from splashes, condensation or a leaking cistern connection above. Trace the source before applying more cleaner. Persistent wetness can affect fixings and the floor behind the toilet.
Make the area easy to maintain
A quick wipe around fixed hinges during weekly bathroom care prevents residue building up. For quick-release seats, remove and clean them on the interval the maker recommends or when the hidden area needs attention; there is no need to release them after every use. Dry the posts before reassembly, and confirm the seat locks every time.
For a whole-room visit, bathroom deep cleaning can address accessible hinge zones, pan exterior and surrounding floor with separate methods. Domestic cleaning can support the routine wipe, while deep cleaning may cover neglected fittings across the home. Tell the cleaner if a seat has a specific release button or is already loose.
The practical sequence is to identify the hinge, remove dry debris, clean with a compatible cloth and release the seat only when the design allows it. Dry and refit securely. If the fixture is broken or unstable, choose a repair or replacement rather than trying to scrub the fault away.