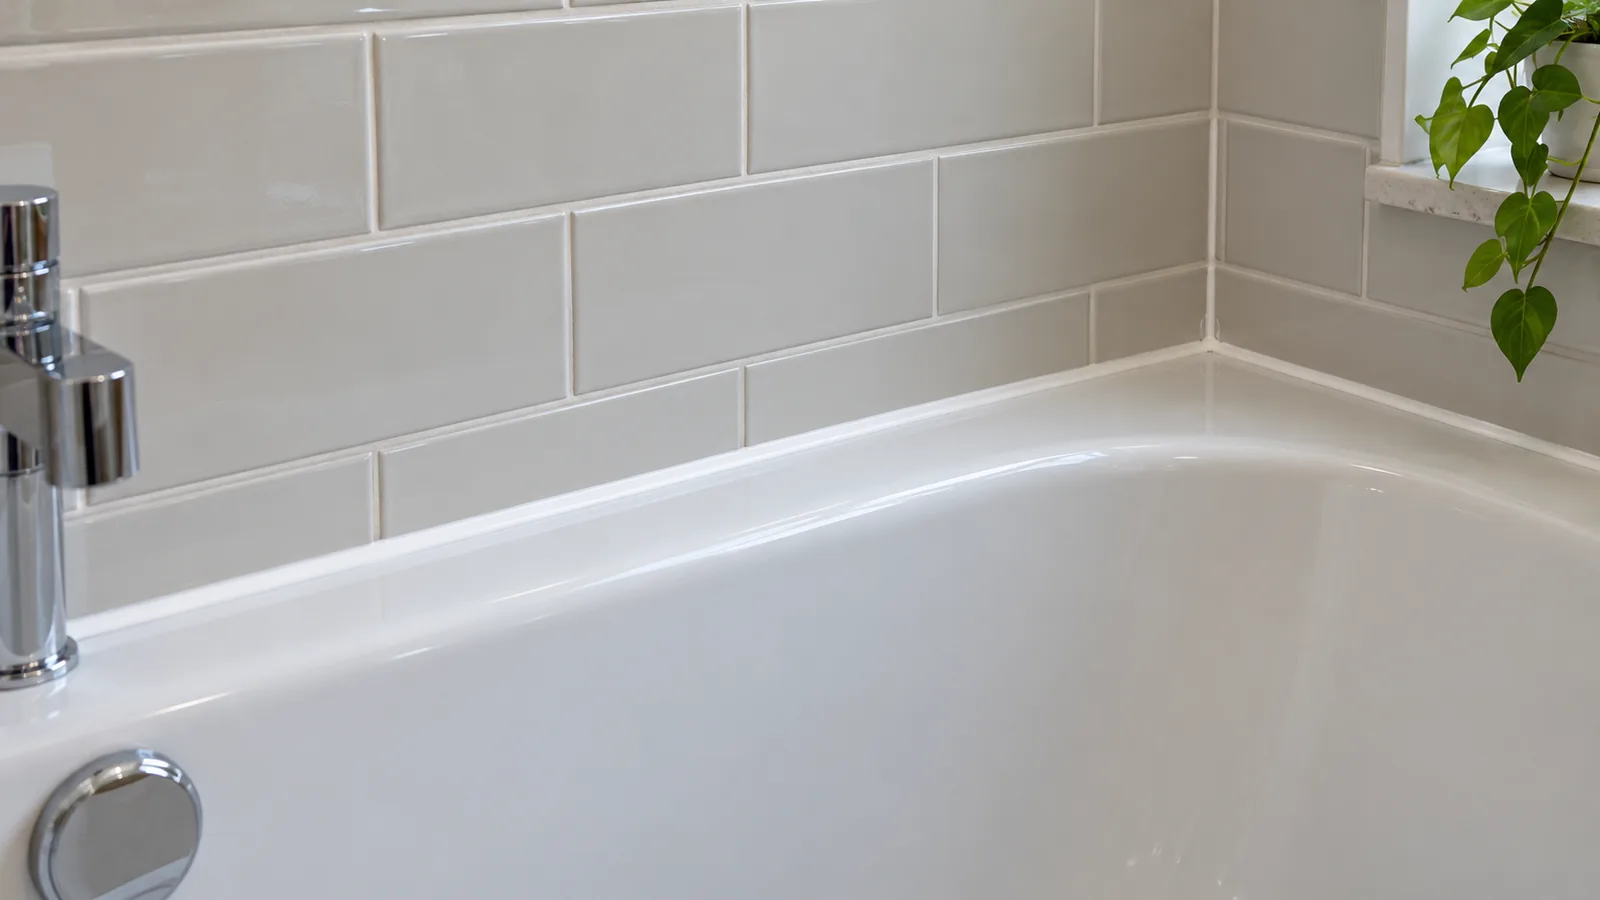
Fresh silicone around a bath or shower can make the room look finished, but the joint needs time to cure before it is exposed to water and routine cleaning. The exact waiting period depends on the product, bead size, temperature and installation instructions. A general “wait one day” rule is not reliable for every seal. Ask the installer which product was used and follow its stated cure time before bathing or wiping the new line.
Once cured, silicone still needs gentle care. Soap film and standing moisture can collect along the joint, while harsh brushing may lift an edge. A gap or movement in the bead is a repair question, not a stain to scrub away. The steps below cover the first days after re-sealing, regular upkeep and signs that the seal may be failing.
Record the product and cure instructions
Keep the tube label, invoice or a photograph of the product name if possible. Note the date and time the work finished, along with any conditions the installer specified. Some products are marketed as fast-curing, but surface skin formation is not the same as full cure. A thick bead in a cool, poorly ventilated room may need different handling from a thin bead in ideal conditions.
Ask whether the bath should be filled or left empty during curing. Installers sometimes account for movement in a bath by setting it in a particular condition; do not change that plan without asking. Also check whether the joint is at a shower tray, basin, screen or wall, since the expected water exposure differs. Keep the area dry and avoid pressing, poking or smoothing a bead after the installer has finished.
The existing article on black mould on silicone addresses older affected joints. A new seal has a different priority: let it form the intended bond before you introduce cleaning products or water.
Keep the area undisturbed during curing
Use another shower or bath if available for the period specified by the product or installer. Do not hang bottles, a shower curtain or a bath mat against the bead. Avoid a wet cloth resting on the joint. If dust lands nearby, remove it from the adjacent tile or bath without touching the fresh silicone. Keep the room ventilated according to the product directions, while avoiding a draught that blows debris onto the wet line.
Do not test the cure by pressing a fingertip into the joint. That can leave a mark or weaken an edge. If the bead appears to have sagged, separated or been splashed before the allowed time, photograph it and contact the installer. Trying to patch it with a little household silicone over a partially cured surface may make the repair harder.
For a rental property, tell everyone who uses the bathroom when the fixture can be used again. A note on the door is more useful than assuming a housemate knows the seal was replaced. If cleaners are scheduled, move the visit or clearly exclude the new joint until curing is complete.
Clean the cured joint gently
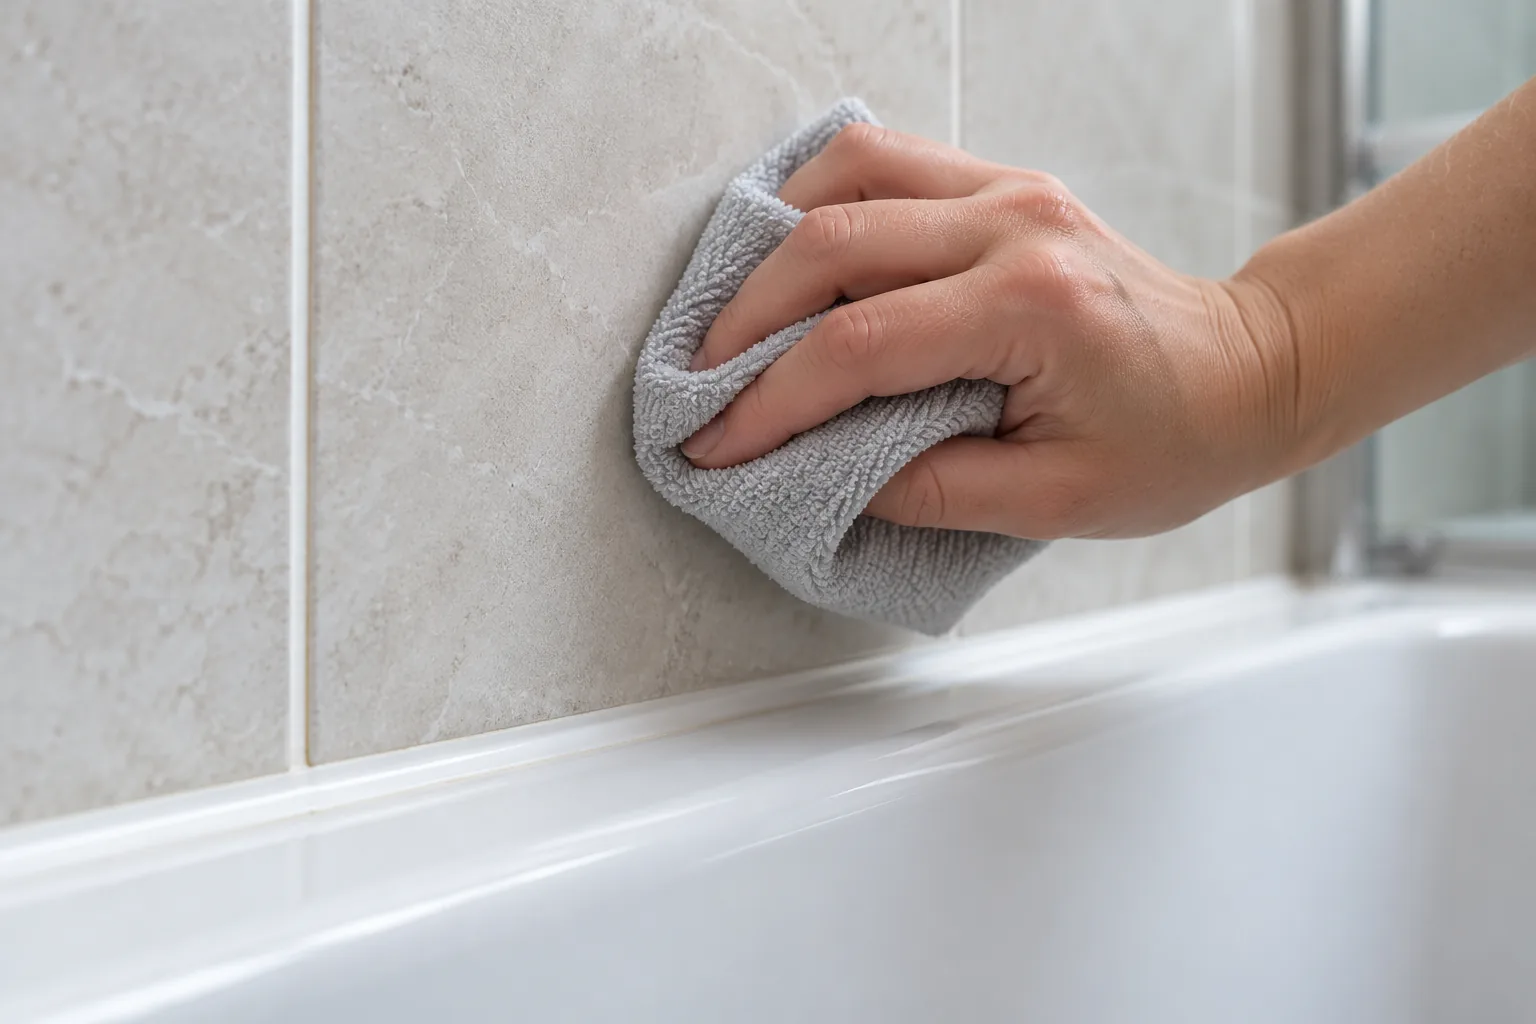
Once the maker's full cure period has passed, use a soft cloth and a mild product suitable for both silicone and the neighbouring surfaces. Wipe along the bead without pulling at an edge. Rinse residues as instructed and dry the joint, especially in corners where water rests. A stiff brush or abrasive pad can roughen the surface and lift poorly bonded edges.
The bath, tile and metal fitting around the joint may need different cleaners. Apply them to a cloth rather than spraying indiscriminately across the bead. If a stronger descaler is needed on a tap or glass panel, protect the silicone from prolonged contact unless the product and sealant makers permit it. Never mix cleaning chemicals. Do not use a sharp blade on the new bead to remove a speck of dirt; it can cut the seal.
After showers, a quick rinse of soap residue and sensible ventilation reduce buildup. Wiping water from the rim also helps. The goal is not to keep the silicone bone dry every second of its life, but to avoid persistent moisture and soap film that hide changes in the joint.
Watch the edge rather than only the colour
Inspect the cured seal in good light every so often. It should form a continuous bond along the intended joint. A narrow gap, lifted edge, split corner or bead pulling away from tile can let water pass behind the fixture. A white line can look clean while still leaking. If water appears on the floor or ceiling below, stop using the bath or shower and arrange appropriate repair.
Discolouration alone has several possible causes. Surface soap film may wash off. A dark mark beneath or within the silicone may not respond to wiping. The article on removing mould from bathroom walls and ceilings discusses wider moisture issues, but a failed joint needs sealing work as well as cleaning.
Do not apply new silicone over a loose or dirty old section without proper preparation. It may hide a gap rather than restore a watertight bond. A competent installer can assess whether the joint needs to be removed and replaced, and whether movement, trapped moisture or a leaking screen caused the early failure.
Address repeat failure at its cause
If a new bead lifts within weeks, document when and where. Was the joint exposed to water before curing? Does the bath flex when filled? Is water pooling at a corner or running from a poorly fitted screen? These observations can help the installer diagnose the problem. Cleaning the silicone more often will not correct movement or an unsuitable substrate.
Check ventilation and room humidity. Persistent condensation keeps surrounding surfaces damp, making discolouration return. If a fan is not working, arrange an electrical or ventilation assessment rather than relying on a scented spray. Keep shower products on a shelf rather than pressing bottles against the seal. Clean a removable mat separately and let the bath edge dry beneath it.
When asking for help, show the installer a close photograph and a wider view of the fixture. Include the product used and the date installed if known. Do not scrape off the evidence before they assess it, especially if the work may be covered by a guarantee.
Keep the cleaning scope clear
A bathroom deep cleaning service can care for adjacent tile, bath and fittings once the seal has cured. Tell the cleaner the installation date and which products the installer approved. Limescale treatment may be appropriate for nearby deposits, but it should be planned around the silicone and surface finishes. A domestic cleaning visit can support mild regular upkeep. Cleaning services do not replace a failed waterproof joint.
The sensible sequence is to follow the product's cure time, keep the bead undisturbed, clean it softly once cured and inspect the edges for separation. If a gap forms or water escapes, arrange re-sealing or repair before the next deep clean. Protecting a sound joint is simpler than trying to clean damage out of one that has already failed.