Why a clean rental helps your listing (and your viewings)
What buyers and renters notice first
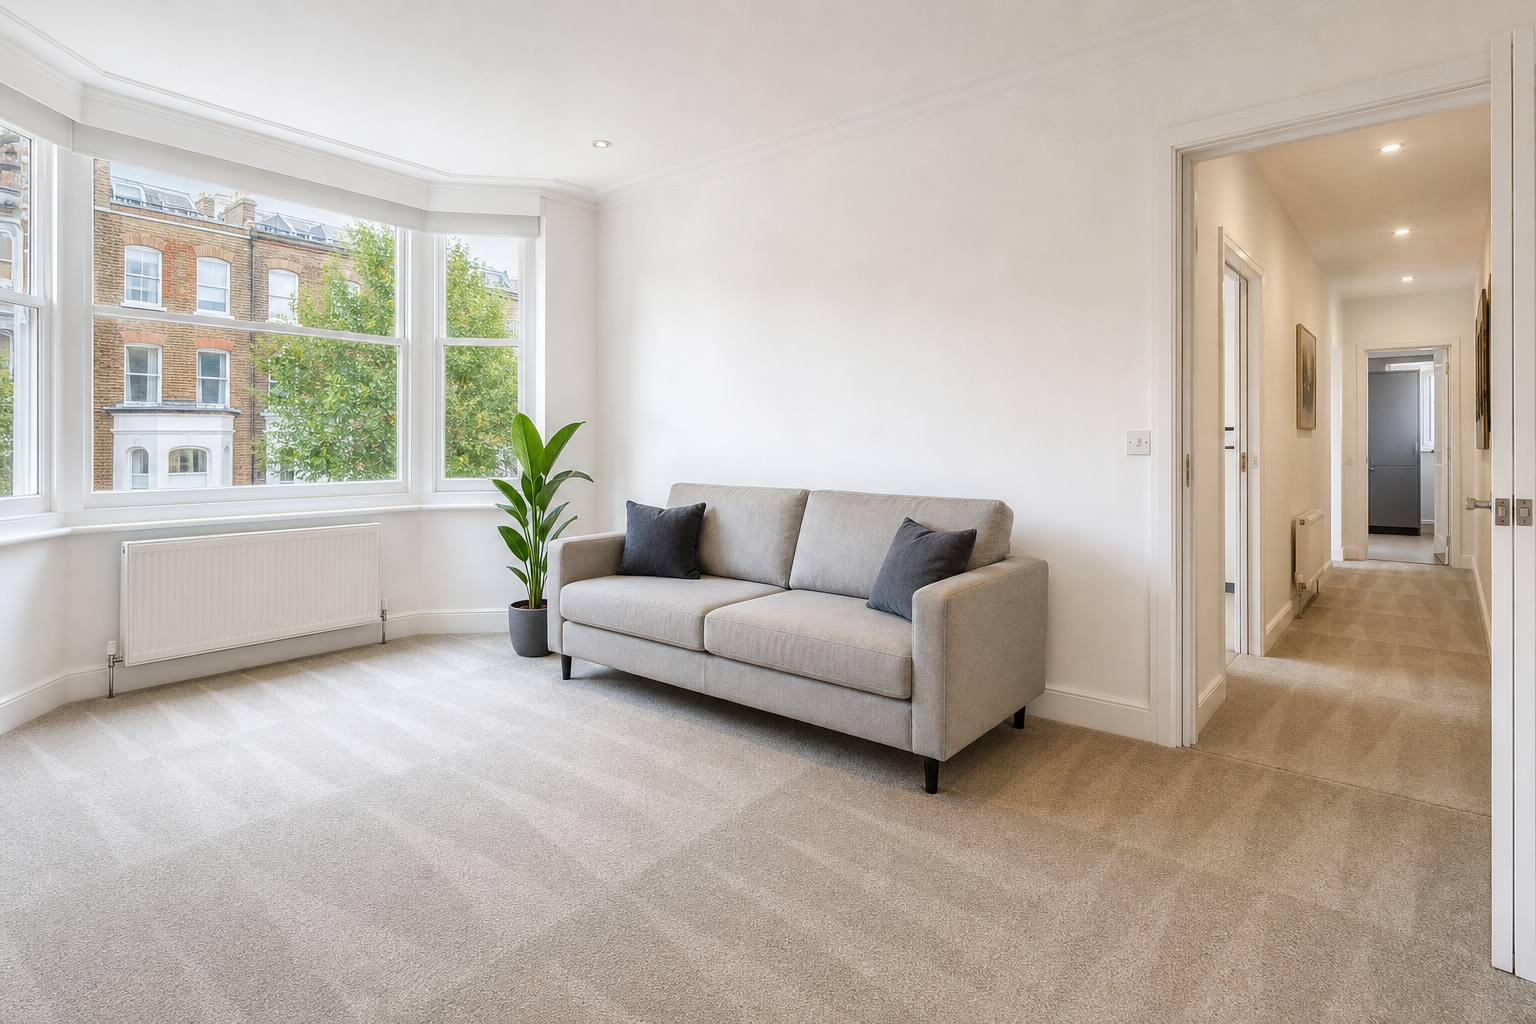
- Light, space and visible surfaces set the tone in listing photos. A bright room with clear worktops and clean floors looks bigger—even if the square footage hasn’t changed.
- Small faults reduce perceived value. Streaky windows, limescale on taps, dusty skirting boards and cluttered corners are the details that make a property feel “tired” on camera.
- A tidy, bright property attracts more clicks and viewing requests. People assume a well-presented home is better maintained, easier to move into, and less likely to come with hidden issues.
Time- and cost-efficiency angle
- Target what shows most in photos. You don’t need to deep-clean every cupboard to get better images. Focus on high-visibility areas: glass, shiny surfaces, floors, grout lines, and clutter.
- Combine quick DIY tasks with selective professional services. A focused approach (e.g., bathroom sparkle + carpets if marked) can be far more efficient than trying to do everything yourself the night before.
Pre-photo checklist: quick wins before the camera arrives
Declutter and depersonalise (30–90 minutes)
- Remove personal photos and paperwork. Viewers should imagine their own life in the space, not yours (or the previous tenant’s).
- Clear countertops, tabletops and the tops of dressers. In photos, flat surfaces act like “stages”—and clutter reads as lack of storage.
- Hide laundry, bins and pet items. Put bins under the sink or in a cupboard for the shoot; tuck litter trays, bowls and toys out of view.
- Manage cables and chargers. Coil and conceal wires behind furniture; they stand out against light walls and floors.
Optimise lighting and angles (15–30 minutes)
- Open curtains/blinds fully. Natural light is one of the biggest drivers of “looks larger” photos.
- Switch on warm lights in darker rooms. Use matching bulbs where possible so rooms don’t look patchy (one cool bulb can make a space feel clinical).
- Turn off ceiling fans and remove shadow-casters. Busy lampshades, large drying racks and tall piles create hard shadows that make rooms look cramped.
- Reposition furniture to improve sightlines. Even moving a chair out of a walkway can make a room photograph as more open.
Surface touch-ups (30–60 minutes)
- Wipe visible surfaces. Kitchen counters, bathroom sinks, taps, tiles around the basin, coffee tables and TV stands are all “photo magnets”.
- Quick vacuum/sweep then spot-mop focal areas. Prioritise hallways, living room pathways and the kitchen floor. Avoid wet-streaks by letting floors fully dry before shooting.
- Polish mirrors and glass. Fingerprints and smears show up strongly under flash and window light. For practical methods, see how to clean windows without streaks.
Room-by-room photo priorities
Kitchen — focus on counters and appliances
- Clear and clean worktops. Leave only one or two neutral items (e.g., a kettle and a small plant) if the room otherwise looks empty.
- Remove magnets, notes and packaging. Fridge doors covered in reminders can make the space feel cluttered in the thumbnail image.
- Make the hob and sink streak-free. Pay attention to tap bases, drain areas and around the plughole where grime gathers.
- Handle smudges. Wipe cupboard fronts, appliance handles and splashbacks—grease marks are very visible on glossy surfaces.
- Oven: clean only if it will be seen. If the oven door will be closed for photos, focus on the exterior glass and control knobs.
Bathroom — aim for sparkle and freshness
- Clean glass, chrome and grout lines. Limescale and dull taps are instantly noticeable. Scrub around the shower screen edges and the base of taps.
- Remove toiletries from the sink and shower edge. A clear basin area looks more “hotel clean” and makes the room feel larger.
- Replace tired textiles. A worn shower curtain or mismatched towels can drag a bathroom down—swap for neutral, plain options for the photos.
- Don’t forget the toilet seat area. Clean around hinges and the base. Close the lid before the photographer arrives unless they request otherwise.
Living room and bedrooms — maximise space and light
- Show a clear bed and tidy soft furnishings. Fresh, neutral bedding photographs well. Straighten cushions and throws rather than layering multiple patterns.
- Remove excess furniture. If a room looks tight, temporarily move a spare chair, side table or bulky storage unit out of the shot.
- Vacuum carpets with visible lines. A consistent finish reads as “freshly cleaned” in images (but avoid leaving obvious missed strips).
- Wardrobes and storage: keep doors closed and surfaces clear. If wardrobe doors are mirrored, polish them like a bathroom mirror.
Windows, floors and entryway
- Clean windows for natural light. Often an interior clean is enough for photos. Prioritise windows in the living room and any room with a good view.
- Address visible floor marks. Spot-clean scuffs, especially near entrances and in the kitchen where foot traffic is highest.
- Make the front door and hallway photo-ready. The entry often appears early in listings. Remove coats, shoes and umbrellas from view.
If you want a more detailed approach beyond the photo-only priorities, use this room-by-room professional standard clean as a reference.
Small repairs and cheap touch-ups that photograph well
Cosmetic fixes to prioritise
- Replace burned-out bulbs (and match colour temperature). Mixed lighting can make rooms look uneven or gloomy.
- Tighten loose handles and hinges. A wonky cupboard door suggests wider maintenance issues, even if it’s minor.
- Touch up small wall scuffs. Use matching paint where possible; for tiny marks, a gentle wipe with an appropriate sponge can improve appearance (avoid damaging paint sheen).
- Refresh silicone and accessories if needed. If bathroom sealant is discoloured or mouldy, it can dominate close-up shots. Simple replacements like a new shower curtain or curtain hooks can lift the whole room.
- Check curtains and blinds. Make sure curtains hang evenly and blinds open smoothly—crooked window dressings show immediately in photos.
When to invest in a professional repair
- Use pros for problems that won’t photograph away. Deep carpet staining, persistent mould, broken tiles, damaged grout and major limescale build-up often need specialist attention.
- Prioritise what’s in the frame. Fix the issues visible from the doorway angle first (where most property photos are taken).
Cleaning methods and tools that look good on camera
Products and techniques
- Microfibre cloths for dust and shine. They reduce lint and help avoid re-smearing on glossy cupboards and chrome.
- Streak-free glass technique. Clean edges and corners (where residue gathers) and finish with a dry cloth. This matters for mirrors, shower screens and any large windows.
- Vacuum before mopping. Dust and grit left on the floor create drag marks and dull patches that show under window light.
- Carpets: treat high-traffic paths. If you can see greyed traffic lanes or set-in staining, consider hot water extraction via a machine hire or a professional service. For decision help, read Professional carpet cleaning vs DIY.
- Drying time matters. A slightly damp floor can look streaky or patchy. Finish floors early enough that everything is fully dry before photos.
Staging and finishing touches
- Keep styling minimal and neutral. A small plant, a bowl of fruit, or one piece of simple artwork can warm the image without adding clutter.
- Avoid heavy scents. For viewings, “clean air” is better than strong air fresheners. Ventilate after cleaning so the property smells fresh, not chemical.
- Hide cleaning tools and spares. Buckets, cloths, spare toilet rolls in plastic packaging and mop handles can sneak into shots if left in corners.
When to hire professional cleaners in London
Choose professionals for:
- End-of-tenancy or inventory-ready standards. If you’re switching tenants, formal expectations are higher than “photo clean”. A useful reference point is this end-of-tenancy cleaning checklist (landlord-approved).
- Carpets and upholstery with deep staining. This is one of the fastest ways to lift the whole property visually—particularly in London rentals with high footfall.
- High or awkward windows and specialist surfaces. If access is difficult or there are safety concerns, it’s usually not worth risking a DIY attempt.
How professionals save time and reduce risk
- Fewer repeat attempts. Landlords often lose time trying multiple products on the same issue (glass haze, soap scum, carpet spots). A targeted pro clean can be more efficient.
- Focus the spend where it shows. Book a concentrated service on the kitchen/bathroom and visible flooring to get the best presentation impact for listings.
- Help when timelines are tight. If photography or viewings were booked last minute, it may be worth considering when same-day cleaning is worth booking in London.
Timing your clean: schedule for photos and viewings
Ideal timetable
- 24–72 hours before: do your deep-clean (or book professional services). This gives time for floors to dry fully, for any lingering cleaning smells to air out, and for you to fix anything you spot.
- The evening before: declutter again, put items into cupboards, and set the rooms up the way you want them photographed (beds made, cushions arranged, bins hidden).
- Morning of photos/viewings: quick wipe of shiny surfaces, final vacuum of main walkways, open curtains/blinds, turn on lights, and do a last walk-through from each doorway angle.
- Aim for daylight. If possible, schedule photos late morning/early afternoon when London properties typically get their best natural light.
Budget-friendly quick wins
Low-cost, high-impact ideas
- Upgrade textiles, not furniture. Fresh neutral towels and bedding can make a room look significantly newer without replacing big items.
- Target stains instead of replacing carpets. Hire/borrow a carpet cleaner for the most visible traffic areas (doorways, sofa paths, bedroom sides).
- Swap bulbs and reduce shadow. Matching warm bulbs and removing one dark, bulky lampshade can improve the look of a room immediately.
- Refresh the entry. A clean doormat, wiped door, and clear hallway floor help the property feel “looked after” from the first image.
Final photo-ready checklist
Tick-list before the camera or first viewing
- Windows cleaned, curtains open, all lights on.
- Counters cleared; sinks empty; bins hidden.
- Beds made; cushions straight; floors vacuumed/mopped and fully dry.
- No personal items visible (paperwork, toiletries, laundry); pet traces removed.
- Neutral finishing touches in place: a small plant, a simple towel set, or a bowl of fruit.
For broader move-in readiness beyond photos (cleaning, handover tasks and practical prep), see how to prepare your property for new tenants (landlord’s guide).
Need a hand? If you’d like help preparing a London rental for photos or viewings, Go Cleaners London can provide targeted cleans (from carpet or window specialists to room-by-room deep cleans). Contact the team for practical advice at https://gocleanerslondon.co.uk/.