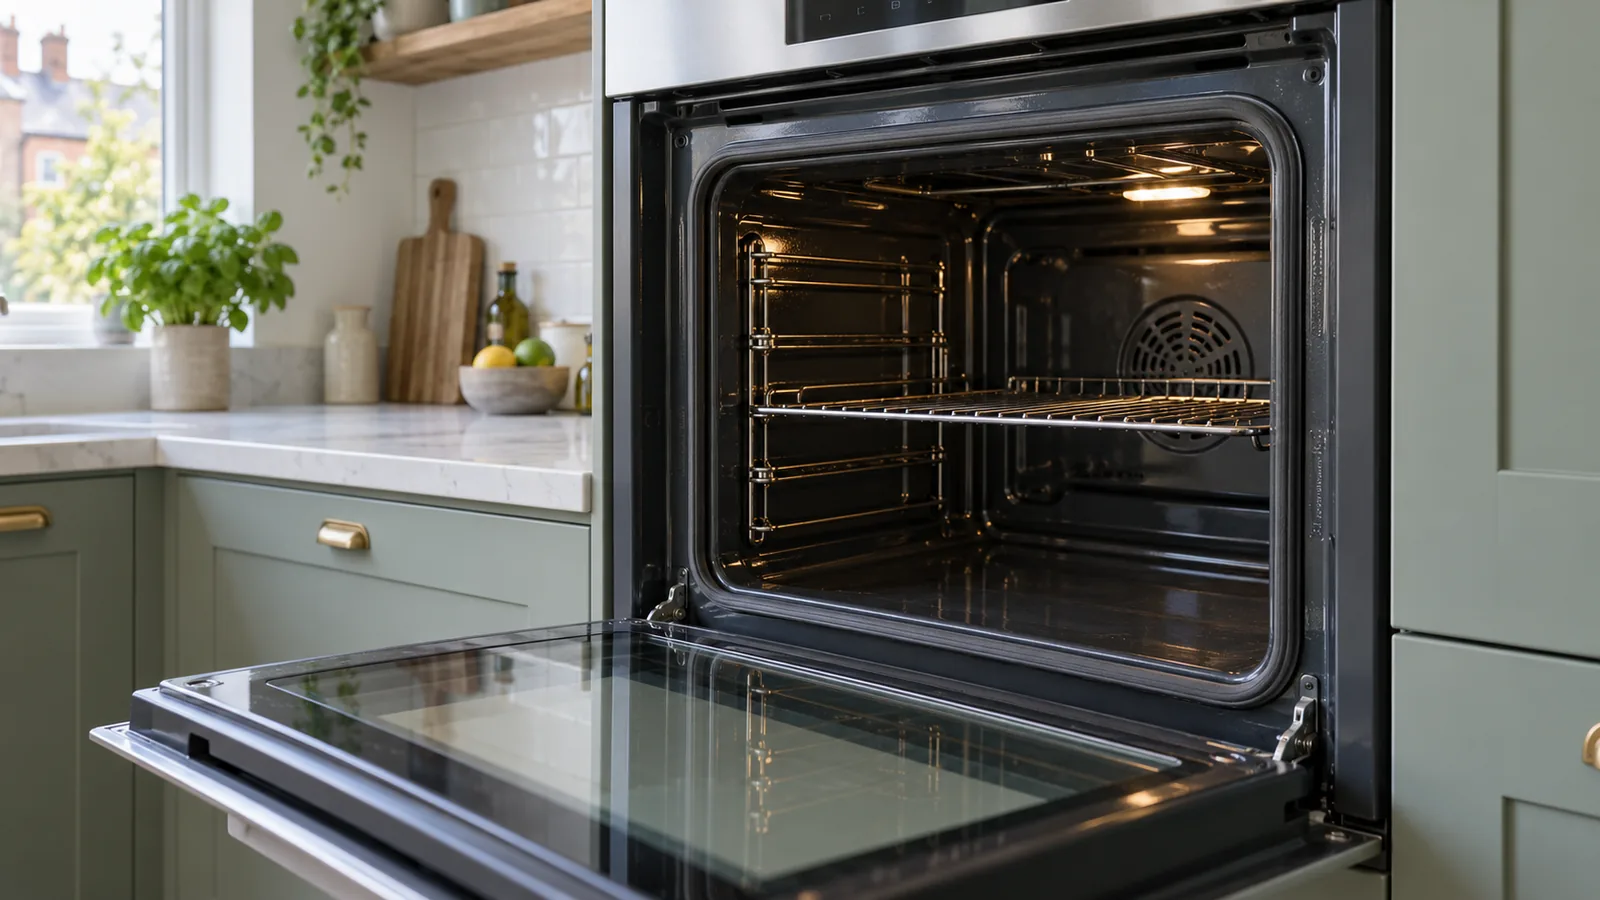
The seal around an oven door helps the appliance close as designed. It sits close to splashes, crumbs and baked-on grease, yet it is often softer and more delicate than the glass or enamel beside it. Scrubbing the gasket like a metal rack can fray fibres, loosen clips or pull it from its groove. A cleaning product left on the seal may also produce odour when the oven heats again.
Cleaning an oven door seal starts with a cool appliance, the manufacturer's instructions and a light touch. The aim is to remove accessible food residue while keeping the gasket seated and dry. If the seal is torn, hardened or hanging loose, cleaning cannot restore its shape; that is a repair question. The steps below help you separate ordinary dirt from a failing part.
Find the seal and check its condition
Ovens vary. Some have a rope-like gasket around the front of the cavity, while others have a silicone-style seal on the door itself. A few use clips, corner joins or a gap in a position specified by the maker. Do not assume an apparent gap means a piece has fallen out, and do not press a seal into an unfamiliar position without checking the manual.
Switch the oven off and wait until every reachable surface is fully cool. If the light stays on with the door open, follow the maker's guidance before working around it. Look along the entire seal for crumbs, grease, splits, fraying, flattened sections and loose attachment points. Photograph anything that looks damaged before cleaning; the image can help with a parts enquiry.
Check whether the door closes normally. A door that catches on the seal, does not meet the frame evenly or has a damaged hinge needs assessment. A dirty gasket may contribute to poor contact, but a hinge or alignment fault cannot be fixed with a cloth. Our guide to cleaning oven racks and door glass covers those harder surfaces; the seal requires its own gentler method.
Remove dry debris first
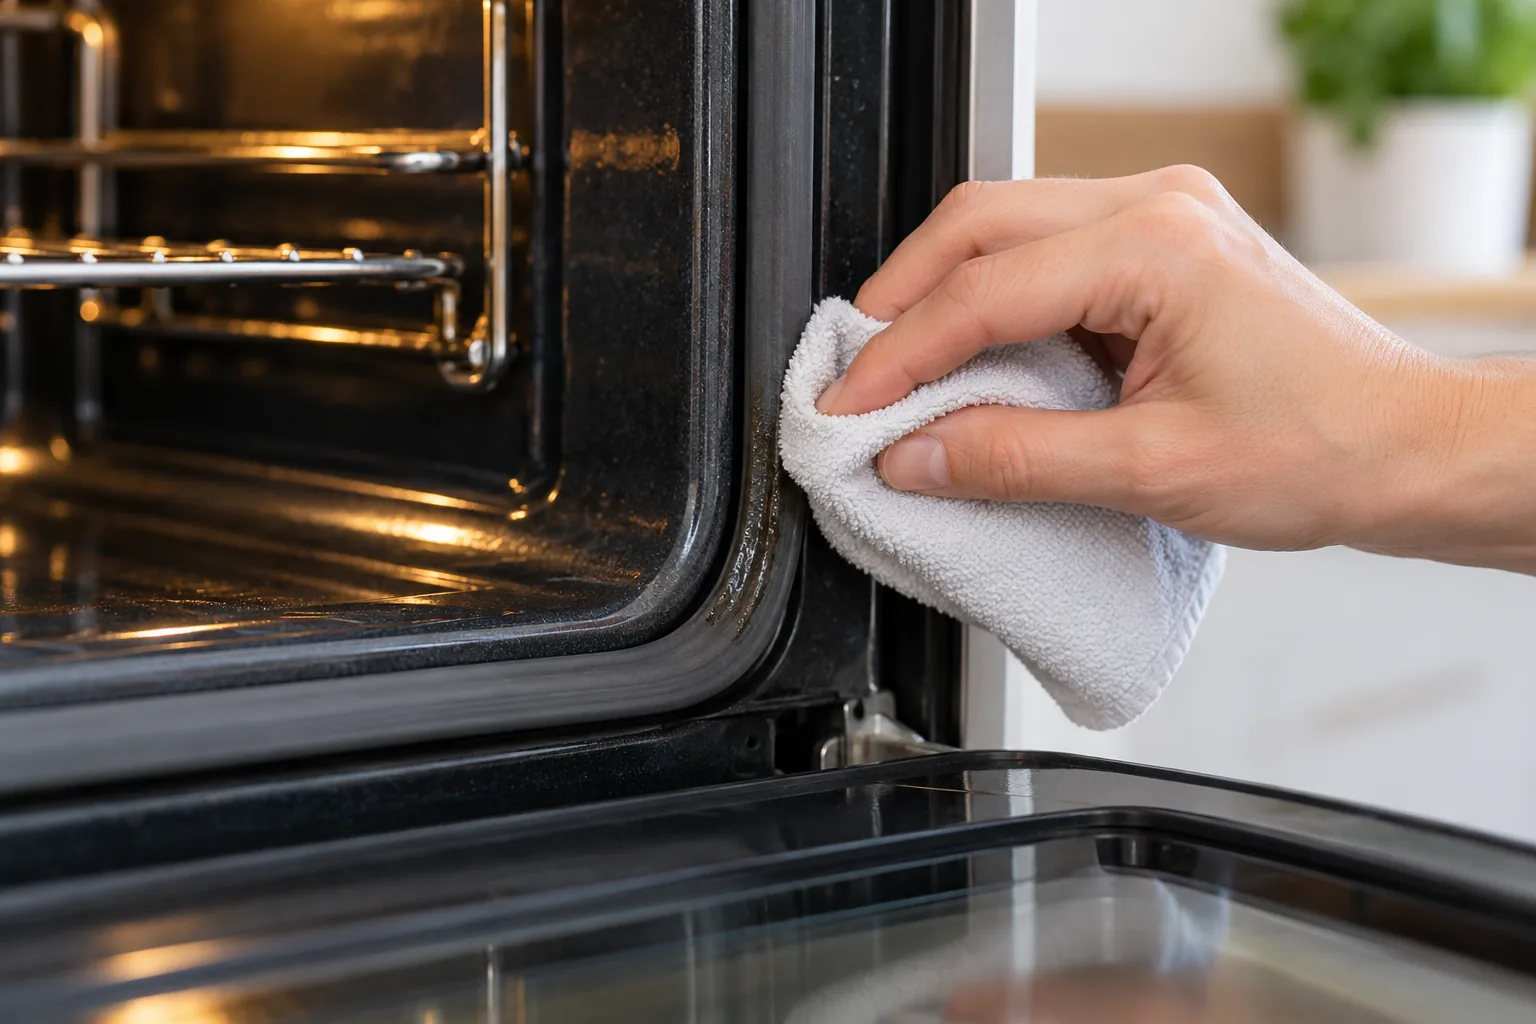
Use a soft brush or a dry cloth to lift loose crumbs from the groove and gasket surface. Work in short sections, supporting the seal rather than pulling it. A vacuum crevice tool may be useful near the frame if it can be held clear of the gasket and clips. Avoid poking a sharp utensil into the edge, where it could cut material or dislodge a retaining point.
Place a towel beneath the open door if needed to catch crumbs, without blocking the hinges. The inner glass, door edge and cavity lip may have greasy spots next to the seal. Clean them separately according to the manufacturer's guidance, so that residue from the metal frame is not dragged across the gasket. Do not use a scraper on the seal itself.
If the seal appears to have a woven or fibrous texture, brushing should be especially light. Loose fibres can catch on a cloth. Stop if the material starts to fray or pull away. A stubborn dark line may be staining or heat ageing rather than removable soil; aggressive rubbing can do more damage than leaving a cosmetic mark.
Use only a compatible mild method
Read the oven manual for allowed cleaning products and any areas that must remain dry. For many accessible seals, a soft cloth lightly dampened with water or a maker-approved mild solution can remove fresh grease. Apply liquid to the cloth rather than spraying into the oven opening. Blot or wipe gently along the surface without soaking the gasket. Follow with a separate lightly damp cloth if the instructions require rinsing, then dry with a soft towel.
Do not use an abrasive pad, wire brush, oven cleaner, bleach or steam on the seal unless the manufacturer explicitly permits the particular method. Products designed to dissolve baked-on grease on enamel may be unsuitable for a flexible gasket. Strong solvent can affect some materials, while soaking can leave moisture trapped around clips or a fibrous core. The post on oven cleaning hacks that damage appliances explains why quick fixes are often expensive.
Work in manageable sections so you can see whether the cloth is picking up soil or the seal's own colour. If material transfers, stop and inspect the area. Do not pull out the gasket to reach behind it as part of routine cleaning. Its clips and fit are designed for a particular model, and reinstalling it incorrectly can compromise the door closure.
Keep the door frame and gasket separate
The gasket often borders a metal or enamel lip where grease accumulates. You may need a suitable product on that hard surface, but protect the seal from overspray and runoff. Apply cleaner to a cloth rather than directly to the frame near the gasket. Use the shortest contact time and rinsing method in the product and appliance instructions. Never mix cleaning chemicals.
The door glass can have a baked-on patch that tempts you to scrub right up to the seal. Treat the glass as a separate job and leave a safe margin at the gasket. If the manufacturer's method involves removing glass or the door, make sure you can follow the full reassembly instructions; there is no need to dismantle an oven just for routine seal wiping.
After cleaning, look at the seal from each corner. It should be seated as the manufacturer shows, without new loops or twists. Close the door gently and check that it moves normally. Do not slam it to force contact. Allow all cleaned parts to dry before heating the oven again.
Recognise signs that need repair
A torn seal, missing clip, hard or flattened section, and a gasket that repeatedly slips out should be assessed for replacement. Persistent heat escaping around a closed door, unusual condensation on nearby cabinetry or a door that no longer shuts properly are also reasons to stop and check the appliance. Cleaning can remove grease that prevents contact, but it cannot restore elastic material or correct a faulty hinge.
Use the oven model number to find the correct replacement part and follow the maker's repair instructions. A similar-looking universal gasket may not fit the door or cavity as intended. If you are unsure, ask a qualified appliance repairer. Do not run a high-temperature cleaning cycle to burn residue off a damaged seal. The cycle will not mend it and may make a weak part more apparent.
The oven's age matters, but a darkened gasket is not automatically faulty. Compare its shape, attachment and door fit with the manufacturer's examples. A little permanent discolouration may be cosmetic. By contrast, a clean seal that cannot stay in position needs attention even if it looks pale.
Build a low-effort maintenance habit
Once the oven cools after cooking, wipe fresh splashes from suitable door and frame surfaces before they bake on. Keep the seal free of crumbs and avoid hanging heavy cloths from an open door. Check the gasket during a regular oven cleaning visit, especially if grease has built up along the cavity lip. Tell the cleaner about any loose clips or door-closing issue before work begins.
When the rest of the room also needs attention, kitchen cleaning can address accessible surfaces around the appliance, while a deep cleaning service can cover wider buildup. Neither service should be mistaken for appliance repair. Ask how the seal will be protected during any stronger treatment of adjacent surfaces.
The practical rule is simple: cool the oven, check the gasket's condition, lift dry debris, use only a mild approved cleaning method and dry everything before use. If the seal is damaged or the door does not close correctly, arrange a model-specific repair. Preserving the seal's fit is more valuable than scrubbing away every trace of old discolouration.