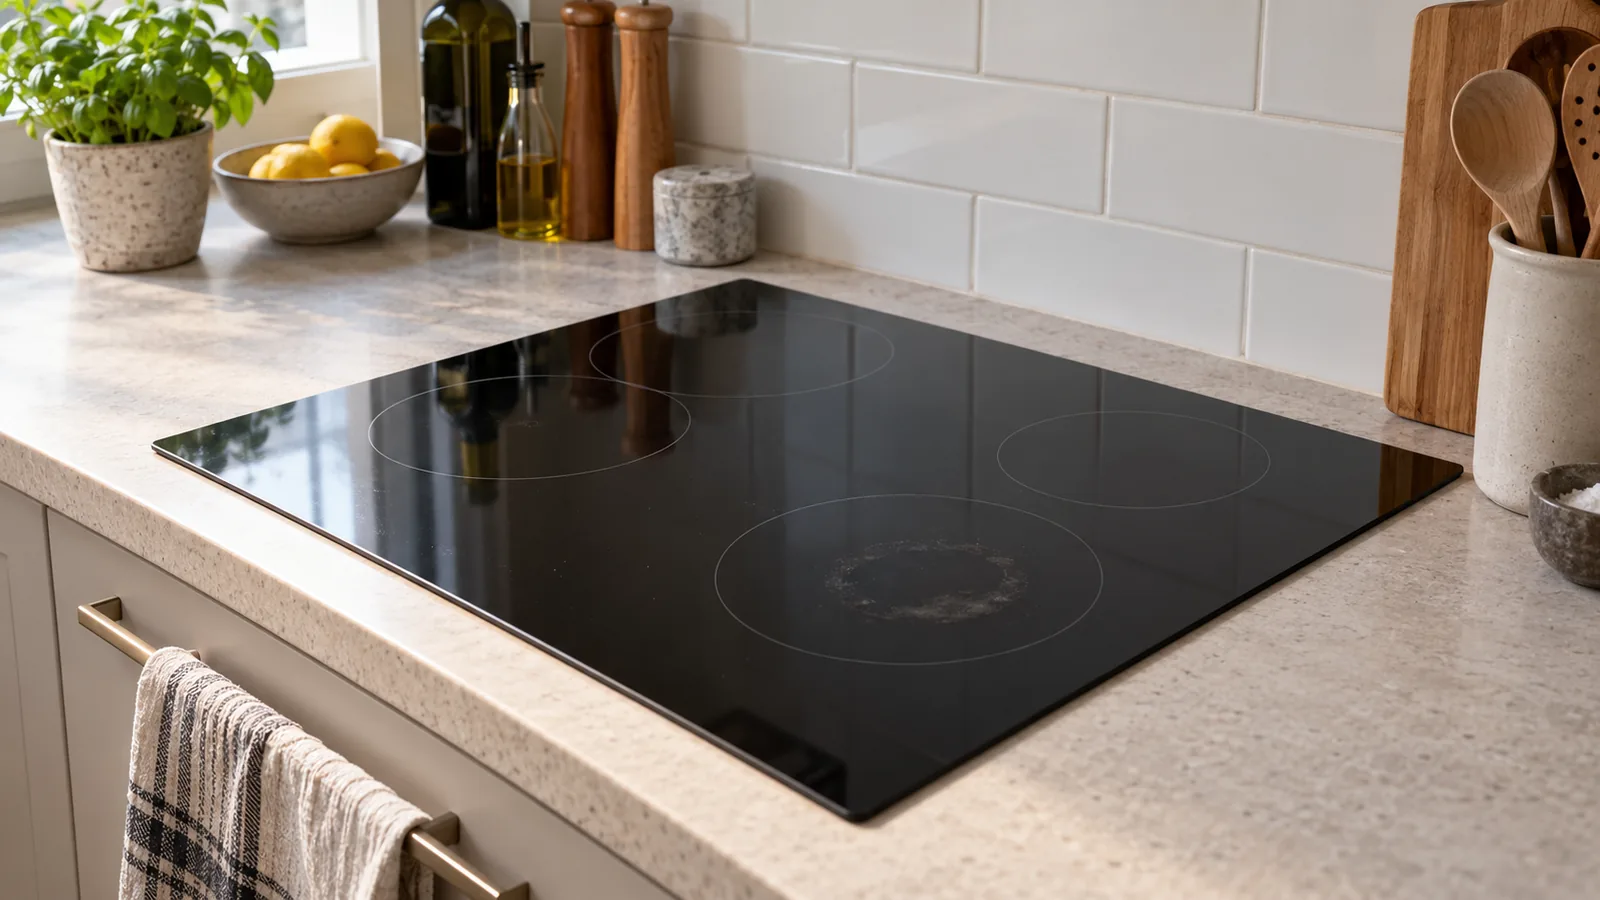
A black induction hob shows every streak in side light. A cloudy ring may be dried cooking liquid, a grey line can be transfer from the base of a pan, and a fine scratch may remain no matter how long you polish. Identifying the mark before cleaning saves time and protects the glass. Pressing harder with an abrasive pad can turn a removable spill into permanent surface damage.
The safest routine is to let the hob cool, remove loose grit, use a product approved for the glass-ceramic surface and finish with a clean cloth. A dedicated scraper may be appropriate for a raised burnt deposit on some models, but only if the manufacturer specifies how to use one. This guide helps you decide what is on the hob and when to stop cleaning and seek appliance advice.
Wait until the hob is safe to touch
An induction zone heats the pan directly, but the glass beneath it can still become hot from the cookware. Check the residual-heat indicator and follow the manufacturer's instructions before cleaning. Switch the hob off and move pans away carefully. Do not throw cold water onto hot glass in an attempt to loosen food. A hot surface can also make a cleaner dry too quickly and leave streaks.
Once cool, wipe away crumbs with a soft dry cloth. Loose salt, sugar crystals or other grit can scratch if dragged across the glass. Do not begin with a sponge that was used on a pan or sink; it may contain abrasive particles. Use clean cloths reserved for the hob. Check the edges where crumbs lodge beside a metal trim or the worktop joint.
The broader hob cleaning guide covers several surfaces. For induction glass, the important distinction is between a deposit sitting *on* the surface and a change *in* the surface. Cleaning can lift the first; it cannot polish away every scratch or chip.
Sort the mark before choosing a method
Look at the hob from several angles under good light. A raised patch that catches the edge of a fingernail without pressure is likely stuck-on food. A dull ring that changes after wiping may be a thin film of grease or cleaning product. Grey streaks appearing after a particular pan could be metal transfer. A scratch often remains visible at the same angle after the glass is clean and dry.
Take note of when the mark appeared. Boiled-over starch, splashed sauce and sugar-rich food behave differently. The appliance manual may call for prompt action with certain spills once it is safe to do so. Do not guess from colour alone: a white haze can also reflect wear or a change to the surface. If glass is chipped, cracked or appears structurally damaged, stop using the hob and follow the manufacturer's repair guidance.
Check the base of the pans. A rough or dirty base can continue to mark the hob after every cleaning. Lift pans instead of sliding them, and remove grit from the pan base before returning it to the zone. This is a maintenance step as valuable as the cleaning product itself.
Remove ordinary film gently
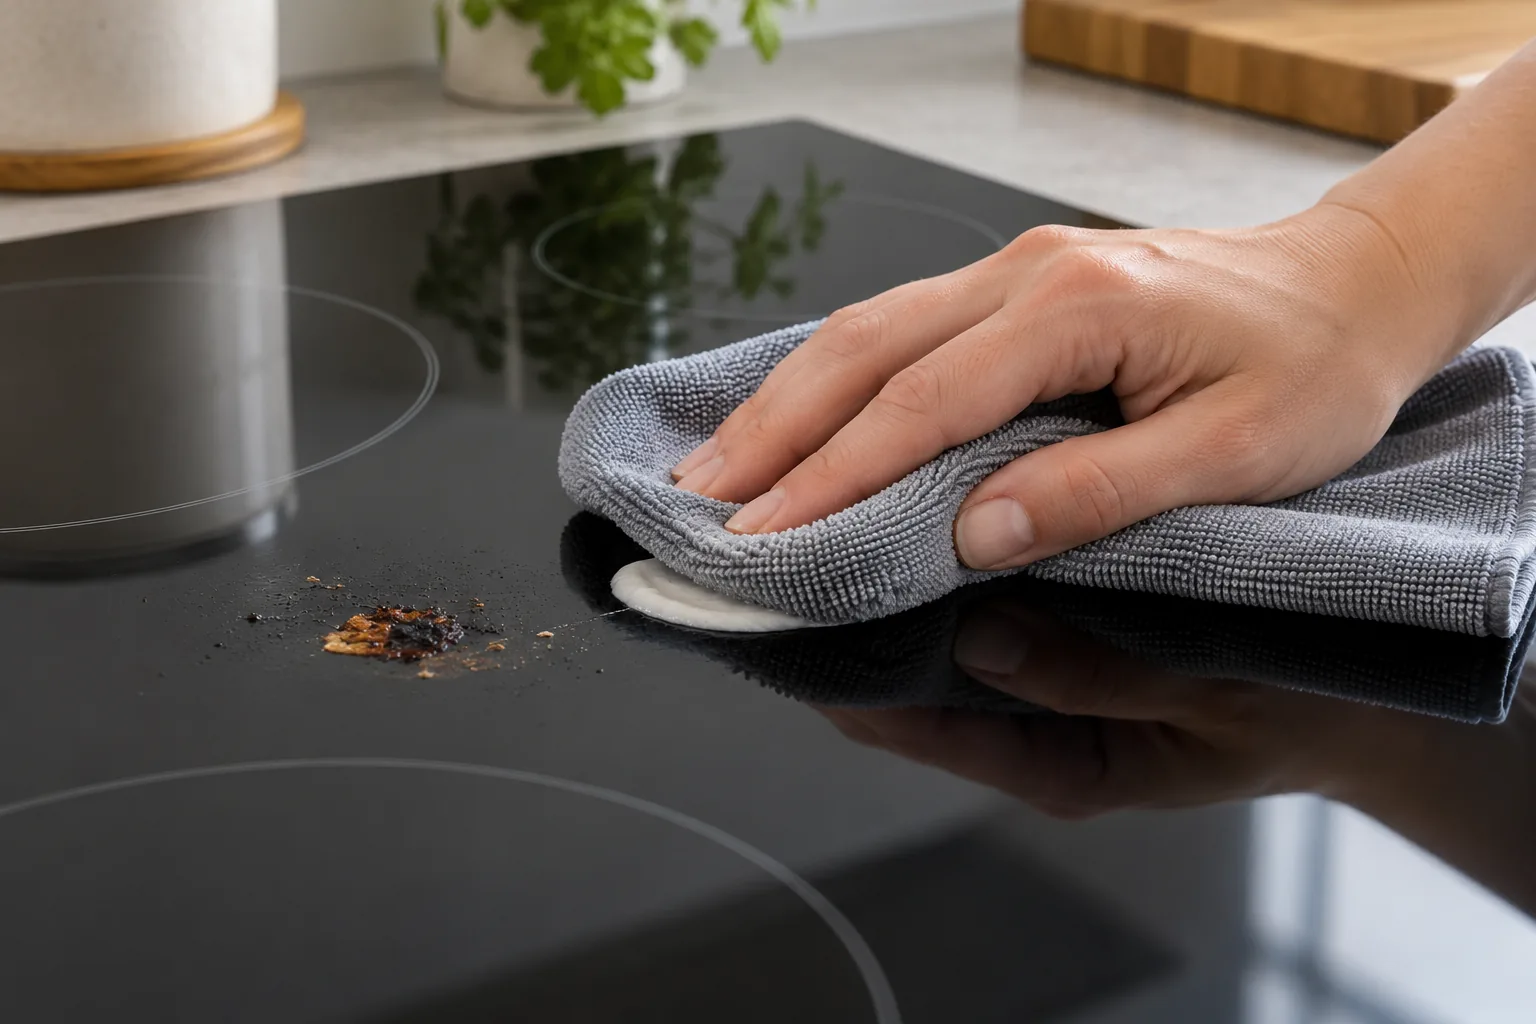
For a cool hob with light cooking film, use the manufacturer's recommended glass-ceramic cleaner or a mild method permitted in the manual. Apply a small amount to a soft cloth rather than spraying controls and joints. Wipe the mark, allow any specified contact time and remove all residue with a separate clean cloth. Buff dry so you can tell whether the original mark remains or you are looking at cleaner streaks.
Avoid scouring powder, steel wool and harsh abrasive pads. Even if they remove grease, they may leave fine marks that are obvious on black glass. Do not use a product because it is labelled for general kitchen use without confirming that it suits your hob's coating and controls. Our guide to stainless steel appliances addresses a different surface; a method safe for the surrounding steel trim may not suit the glass.
Wipe the touch controls with a barely damp cloth according to the manual and dry them. Excess liquid around a control panel can interfere with operation or leave residue in seams. If the hob shows an error after cleaning, follow the appliance instructions rather than repeatedly pressing controls with wet hands.
Address a cooked-on spot with patience
First soften a stubborn deposit using the maker-approved cleaner and contact time. Lift loose material with a cloth without pushing grit over the wider surface. If the manual permits a glass-ceramic hob scraper, use the specified blade type, angle and direction on the *deposit*, keeping the blade flat enough to avoid gouging. Replace a chipped or rusty blade. Do not improvise with a kitchen knife, razor held at a steep angle or metal spatula.
Some spill types require prompt handling even before the whole hob is cool; follow the manufacturer's precise warning, using appropriate protection and keeping hands clear of heat. Otherwise, wait for the normal cool-down. If the patch will not shift with an approved process, stop before increasing force. A remaining shadow may be discoloration rather than material still stuck to the glass.
After lifting the deposit, wipe away particles and cleaner, then dry the area. Check in daylight. Repeating the whole process several times without change is a sign to reassess the mark, not to move to a stronger abrasive.
Know what cleaning cannot correct
Fine scratches, a chip at an edge and damage beneath a coating are not ordinary soil. A cloudy area that does not change after appropriate cleaning may be wear from pans, heat or previous products. Take a photograph and consult the hob maker if you are uncertain. Do not use a polishing compound unless the manual explicitly approves it; removing or changing the top layer can make a larger visible patch.
If a crack crosses a cooking zone or the glass is broken, do not use the hob. Follow the appliance's service instructions. A cleaner can remove grease but cannot judge or certify the electrical safety of damaged glass. Similarly, a pan that rocks because its base is warped needs replacement or repair; more hob cleaning will not make it sit flat.
Keep marks from returning
Wipe fresh spills once the hob is safe to clean, before they repeatedly heat and harden. Keep clean, dry pan bases and avoid sliding cookware. Reserve a soft cloth for the glass, and wash it when it picks up grit. Clean the surrounding worktop separately so its crumbs do not get swept onto the hob. A short routine after cooking is easier than removing several weeks of layered residue.
For a whole-room refresh, kitchen cleaning can include appropriate care of accessible hob and worktop surfaces. Deep cleaning may be useful when built-up grease extends across cabinets and splashbacks, while oven cleaning concerns the separate appliance below. Tell the cleaner the hob model and flag any visible chips or errors before work begins.
The practical decision is to clean the surface you have, not the mark you hope it is. Cool the glass, remove grit, use a compatible cleaner and take an approved approach to raised deposits. If a line or cloudy patch remains unchanged, stop scrubbing. Protecting the intact glass is a better result than making a permanent mark larger in the pursuit of a flawless shine.