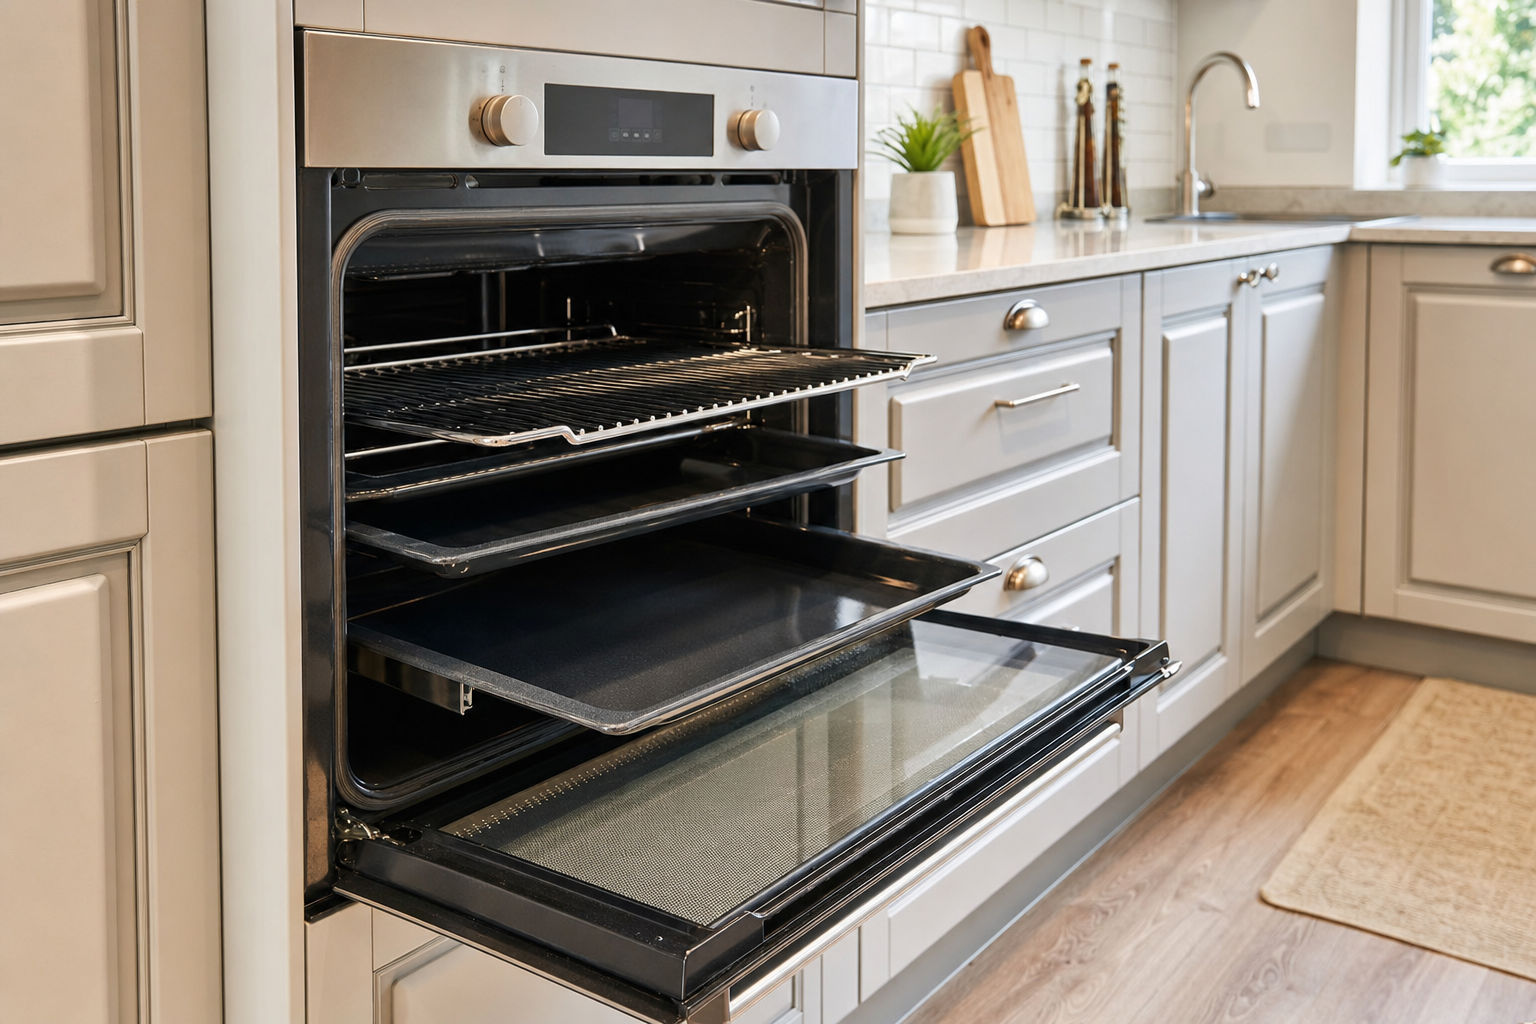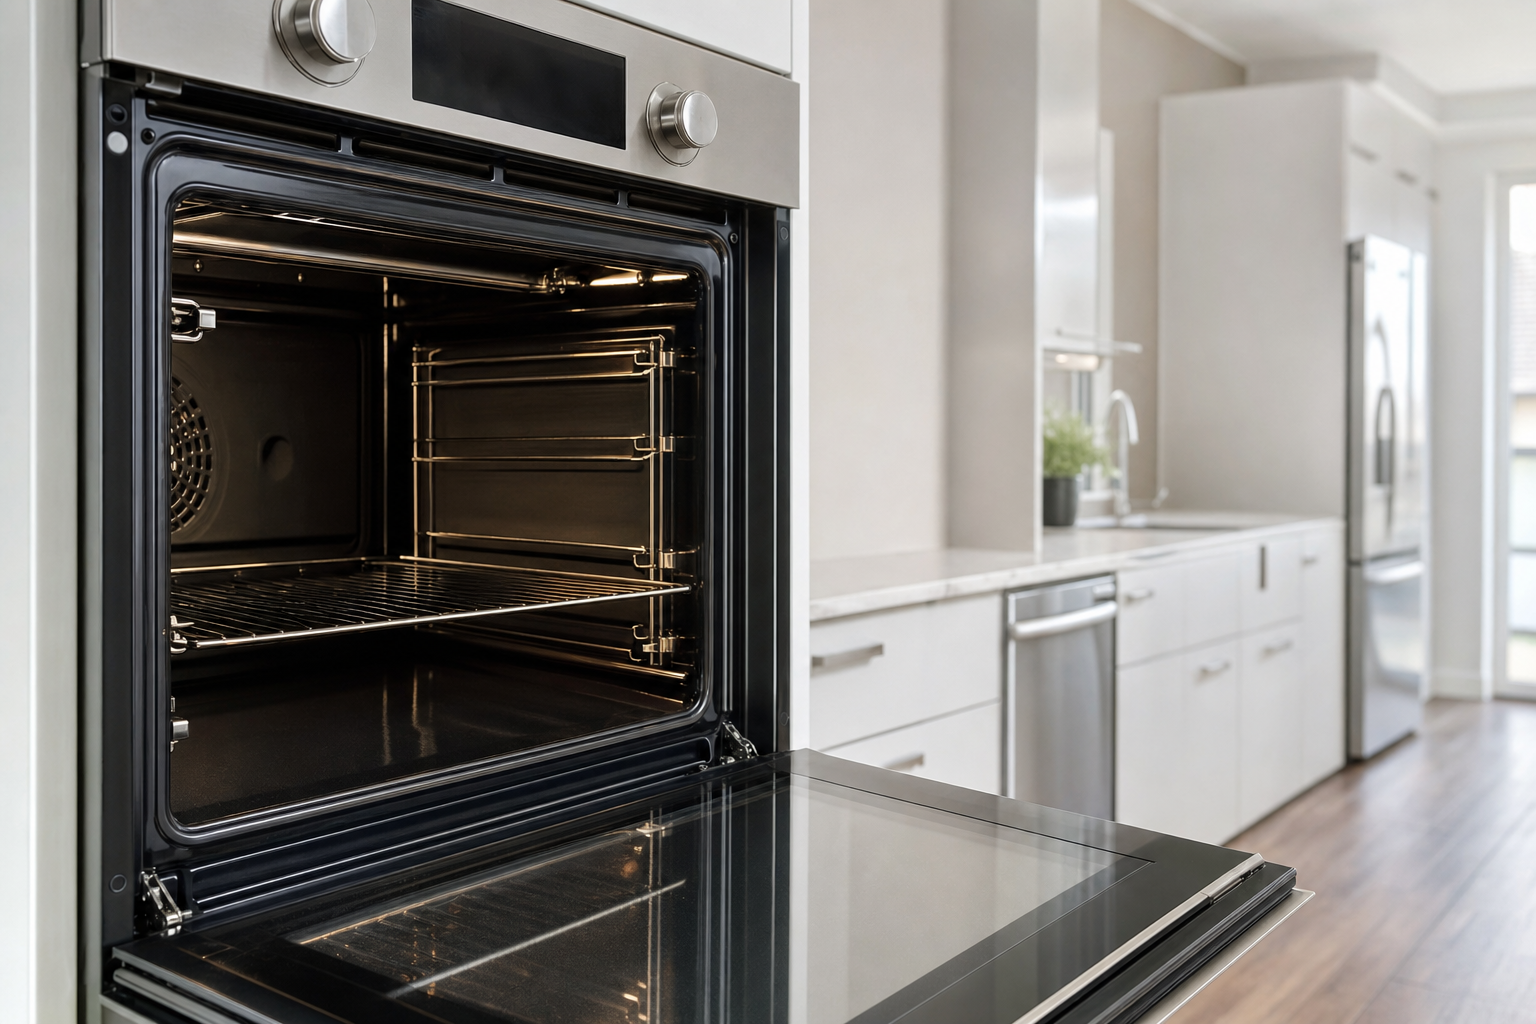
Why regular oven cleaning matters
Oven cleaning isn’t just about appearances. Grease, carbon and burnt-on food gradually change how your oven behaves and how your kitchen feels day to day. In busy London households—where cooking is often frequent and kitchens may be open-plan—regular cleaning can make the difference between a pleasant space and one that constantly smells of old meals.
Hygiene and food safety
When food spills and grease are repeatedly heated, they harden into carbonised residue. That residue can:
- Hold onto odours that transfer into the kitchen and sometimes into food.
- Create smoke when the oven heats up, which can affect taste and trigger smoke alarms.
- Increase contamination risk as old residue flakes can drop onto trays and food.
While an oven’s high heat reduces many microbial concerns during cooking, the practical hygiene issue is the build-up itself: it makes it harder to keep surrounding areas clean (door seals, handle, control panel, nearby cupboards), and it encourages persistent smells that make the whole kitchen feel less fresh.
Fire risk and household safety
Grease is combustible. As it accumulates on the oven cavity, door edges, and especially on the base where drips collect, it can ignite or flare up—particularly at higher temperatures (for example, when roasting or using a grill function). Regular oven cleaning reduces the amount of fuel available for a flare-up and lowers the chance of:
- Sudden flames or glowing grease spots
- Heavy smoke that affects indoor air
- Repeated smoke alarm triggers (a common problem in London flats)
Energy efficiency and running costs
A dirty oven often needs more time to reach and maintain temperature. Baked-on grime can interfere with heat circulation and reflect heat unevenly, which may lead to longer cooking times or inconsistent results. A cleaner oven supports more predictable heating—useful when you’re juggling work, school runs, and tight evening schedules.
Even small inefficiencies add up over time, so regular oven cleaning is a sensible part of overall kitchen maintenance.
Appliance lifespan and performance
Ovens are built to handle heat, but not necessarily years of baked-on residue. Heavy build-up can:
- Stress door seals (making heat escape and cooking less consistent)
- Corrode certain surfaces over time if harsh chemicals are used repeatedly to “catch up” on neglected cleaning
- Make moving parts harder to operate (hinges, shelf runners)
Regular maintenance spreads the workload into smaller, safer cleans and helps you avoid aggressive scrubbing or chemical “rescue missions” that can do more harm than good.
How often should you clean your oven?
There’s no single schedule that fits every London home. A family cooking daily, a flatshare that batch-cooks on weekends, and a household that mostly uses an air fryer will all have different cleaning needs. Use the guidance below as a starting point, then adjust based on what you see (and smell).
Recommended frequency by usage
- Heavy use (most days, roasting/grilling often): plan a deeper clean roughly every 2–3 months, with quick wipe-downs weekly.
- Moderate use (a few times a week): a deep clean every 4–6 months is often realistic, plus monthly checks for build-up.
- Light use (occasional cooking): an annual deep clean may be enough, provided spills are dealt with promptly.
If your oven is used for messy cooking (roasts, pizzas, cheese bakes), you’ll usually need more frequent attention than someone who mostly heats covered dishes.
Signs it’s time to clean
Instead of forcing a date in the diary, watch for clear indicators:
- Persistent burning smells even when cooking simple food
- Smoke when preheating or when the oven reaches higher temperatures
- Visible grease splatter on the door, sides or base
- Residue on racks and trays that flakes or feels sticky
- Uneven cooking (often multi-factor, but heavy grime can contribute)
Considerations for different oven types
Cleaning approach and caution vary depending on what you have:
- Fan-assisted ovens: keep vents and the fan cover area free from heavy grease; avoid pushing liquids into openings.
- Gas ovens: take care around burners and ignition areas; never flood the base with water or soak components that shouldn’t be soaked.
- Integrated ovens: access can be awkward, and grease can collect around cabinetry edges; you may need to clean surrounding trim carefully. For specific access tips, see how to clean behind an integrated oven.
- Self-clean / pyrolytic functions: always follow the manufacturer’s guidance and ventilation advice; some kitchens are more prone to smoke during the cycle.
Safe DIY oven cleaning: practical step-by-step tips
A safe, effective DIY oven cleaning routine is about control: controlled products, controlled moisture, and controlled scrubbing pressure. The goal is to remove grease and carbon without damaging enamel, seals, glass or heating elements.
Preparation and safety first
- Switch off and let it cool: don’t clean a hot oven. If possible, isolate power at the cooker switch.
- Ventilate well: open windows, run the extractor, and keep internal doors open where appropriate—especially in smaller London kitchens.
- Protect surrounding areas: lay an old towel or newspaper under the oven door to catch drips.
- Wear gloves: even mild cleaners can irritate skin after prolonged contact.
Tip: If you’re in a flat with sensitive smoke alarms, avoid using strong-smelling sprays late at night; the odour can linger and spread through shared hallways.
Removal and cleaning of racks, trays and glass
Start with what you can remove easily—it makes the rest of the job simpler:
- Remove racks, side runners (if detachable) and trays.
- Soak racks and trays in a sink or bath with warm water and a small amount of washing-up liquid. If the grime is heavy, add a gentle degreaser suitable for kitchen use (follow label instructions).
- Use a non-scratch sponge or nylon brush to lift softened residue. Avoid metal scourers that can scratch and expose surfaces.
- Clean the door glass carefully: glass scratches are common when people use blades or harsh abrasives. For a detailed method, follow how to clean oven racks and door glass without scratching them.
Dry items fully before returning them to the oven—particularly racks that can drip onto heating elements.
Interior degreasing methods that work
For many ovens, a baking-soda paste is a practical, low-risk option for regular oven cleaning (especially on enamel interiors). Here’s a controlled method:
- Make a paste from baking soda and a small amount of water (aim for a spreadable consistency).
- Apply to the interior surfaces (avoiding heating elements, fans, vents and any exposed electrical areas).
- Leave it to sit for at least 30–60 minutes (longer for heavier residue). Don’t let it dry rock-hard; re-dampen slightly if needed.
- Wipe and gently scrub using a non-scratch pad. Work from top to bottom so you’re not dragging grime onto cleaned areas.
- Spot-treat greasy zones with a suitable oven degreaser if the paste isn’t enough. For more targeted help, see how to remove grease from your oven: tips and tricks.
If your oven has catalytic liners, special coatings, or a specific cleaning requirement, check the manual first—some surfaces shouldn’t be scrubbed or treated with certain chemicals.
Final rinse, dry and test
Finishing properly prevents residue from burning off next time you cook:
- Rinse: wipe all interior surfaces with a clean, damp cloth multiple times until no cleaner residue remains.
- Dry: use a dry cloth to remove moisture, especially around the door seal.
- Quick check: inspect the seal for trapped grime and ensure vents are clear.
- Test: once everything is fully dry, run the oven empty at a low-to-moderate temperature for 10–15 minutes (only if your manufacturer guidance allows) to ensure no lingering odours from cleaning products.
If you want a more detailed “professional-style” workflow, read how to clean your oven professionally: a step-by-step guide.
Precautions: what NOT to do
Many oven cleaning problems come from trying to speed-run the job. Avoid the following:
- Abrasive tools (wire wool, harsh scouring pads) on enamel and glass
- Soaking or flooding the oven base—liquid can creep into components and cause faults
- Mixing chemicals (especially anything containing bleach with other cleaners)
- Scraping coatings off catalytic liners or special internal panels
- Spraying directly into vents or near fans where product can be drawn into the system
For a fuller list of common “quick fixes” that backfire, see oven cleaning hacks that actually damage your appliance.
When to call a professional oven cleaner
DIY oven cleaning works well for routine maintenance, but there are situations where booking a professional is the more sensible choice—particularly when safety, access, or stubborn carbon build-up becomes a concern.
Signs you should book a pro
- Extensive baked-on grease that doesn’t soften with gentle methods
- Smoke that persists even after a wipe-down of visible residue
- Integrated ovens where access is tight and surrounding cabinetry needs care
- Worn or damaged seals that you’re unsure how to clean safely
- Warranty concerns if you’re worried that using strong chemicals or disassembling parts could cause issues
- Time pressure (for example, before hosting, or before moving out)
What to expect from a professional service
While exact methods vary, a professional oven cleaning appointment usually includes:
- Inspection of the oven type, visible build-up, and any areas requiring extra caution
- Removal of racks and removable parts for separate deep cleaning
- Targeted degreasing to lift carbon and grease without damaging surfaces
- Detail cleaning around door edges, seals, and corners where residue collects
- Wipe-down and basic checks to ensure no product residue is left behind
To prepare, clear the area around the oven, remove any items stored in the oven or grill compartment, and ensure there’s reasonable ventilation available (window access if possible).
Daily and weekly maintenance to keep your oven cleaner for longer
The easiest way to make oven cleaning less of a chore is to prevent heavy build-up. Small habits—done consistently—reduce the need for aggressive scrubbing and keep your kitchen feeling fresher.
Quick wipe routines
- After cooking (once cool): wipe the inside of the door and any visible splashes with a damp cloth.
- Weekly: check the oven base for drips and crumbs; remove what you can before it bakes on.
- Monthly: clean racks and trays lightly (a short soak can be enough when residue is fresh).
Consistency matters more than intensity. A 2-minute wipe is often what prevents a 2-hour clean later.
Using liners, trays and preventive measures
Used correctly, protective measures can reduce direct soiling:
- Use baking trays or sheets under dishes that are likely to bubble over.
- Cover roasts where appropriate to reduce splatter (while still following cooking guidance for browning).
- Consider an oven liner only if it’s suitable for your model and doesn’t obstruct vents or heat circulation. Always follow the liner manufacturer’s instructions and your oven manual.
Incorporating oven care into weekly home cleaning
If you already follow a weekly home cleaning rhythm, the oven is easier to manage as part of it. Pair oven upkeep with other kitchen maintenance tasks such as wiping cupboard fronts, degreasing the hob area, and cleaning extractor filters. For a time-efficient kitchen routine, see kitchen cleaning tips for busy families.
Common mistakes London homeowners make (and how to avoid them)
Most oven damage happens during cleaning, not during cooking. The key is to avoid shortcuts that scratch, corrode, or force moisture into places it shouldn’t go.
Using the wrong products or tools
Avoid treating your oven like a patio or a bathroom tile wall. Common mistakes include:
- Overusing strong chemical cleaners without checking surface compatibility (some can dull finishes or degrade seals over time).
- Using abrasive pads on enamel and glass, which can scratch and make future cleaning harder.
- Leaving product residue behind so it burns off into smells and smoke during the next use.
If you’re unsure, start with the least aggressive method and only step up cautiously.
Ignoring manufacturer guidance and warranties
Ovens vary. Before using a self-cleaning cycle, applying a strong degreaser, or dismantling parts, check the manual. Manufacturer guidance can also clarify which parts are removable and which areas should never be soaked or scrubbed.
If your oven is newer or still under warranty, it’s particularly important not to use methods that could be considered improper maintenance.
DIY methods that cause more harm than good
“Internet hacks” often skip the details that prevent damage—such as where not to put paste, how to protect vents, and what tools scratch glass. If you want to avoid costly mistakes, read oven cleaning hacks that actually damage your appliance and use it as a checklist of what to avoid.
Local considerations for London homeowners and renters
London homes have a few quirks that make oven cleaning slightly different—particularly flats, open-plan layouts, and the realities of renting.
Renters: check your tenancy and communicate with the landlord
If you rent, oven cleaning can affect your deposit at the end of your tenancy. Practical steps:
- Check your tenancy agreement for cleaning responsibilities and end-of-tenancy expectations.
- Document the condition with dated photos when you move in and before you move out.
- Agree expectations early if the oven was already stained or worn when you moved in.
For a broader checklist that covers what landlords typically look for, use the end of tenancy cleaning checklist (landlord-approved).
Flats and ventilation challenges in London properties
Many London kitchens have limited ventilation—sometimes no external window, or a weak extractor. When doing oven cleaning:
- Ventilate before you start and keep air moving during the clean.
- Use low-odour methods where possible (for example, baking-soda paste for routine cleaning).
- Clean little and often to avoid needing harsh products that linger in the air.
This is particularly helpful in open-plan kitchen/living rooms where smells can settle into soft furnishings.
Scheduling around busy London lifestyles
Oven cleaning is easiest to maintain when it’s tied to real life rather than ideal schedules. A practical approach is:
- Weekly: 2–5 minutes of wipe-down after your main cooking day
- Monthly: quick check of trays, racks and door glass
- Quarterly or twice yearly: deeper clean (DIY or professional) depending on usage
For year-round planning beyond the kitchen, you may find it helpful to read the ultimate guide to London home maintenance.
Summary and next steps for homeowners
Regular oven cleaning is a practical part of kitchen maintenance and home cleaning that pays off in multiple ways: fewer odours and smoke, safer cooking conditions, more reliable performance and potentially lower day-to-day running costs. The right schedule depends on how you use your oven, but consistent small wipe-downs and sensible preventive measures dramatically reduce heavy build-up.
If your oven is heavily soiled, integrated, or you’d simply rather save time and avoid the risk of damage, a professional clean can be the most straightforward route. Contact the team for practical advice or a no‑obligation quote for oven cleaning in London at gocleanerslondon.co.uk.