1. Plan and prepare before you start
A smooth post-renovation clean starts with timing and a clear sequence. If you begin too early, you’ll end up re-cleaning as dust continues to settle.
Confirm contractors have finished and any wet trades (plaster, paint) are fully cured before deep cleaning.
- Ask your contractor what’s still pending (silicone finishing, snagging, final sanding) and wait until it’s complete.
- Let plaster, grout, paint and sealants dry fully; wiping too soon can smear finishes or pull dust into damp surfaces.
- If you need to move in quickly, do a “containment clean” first (vacuuming and dust capture) and return for a full deep clean once curing is complete.
Walk the property to note heavy-dust zones, paint splatter, adhesive residue and damaged finishes.
- Start at entry points (hallway, stairs) where trades carried materials in and out.
- Check window frames, skirting boards, door tops, radiators, sockets and light fittings—these trap fine dust.
- Photograph any marks or damage you may need to raise during snagging (scratches to worktops, chipped tiles, scuffed paint).
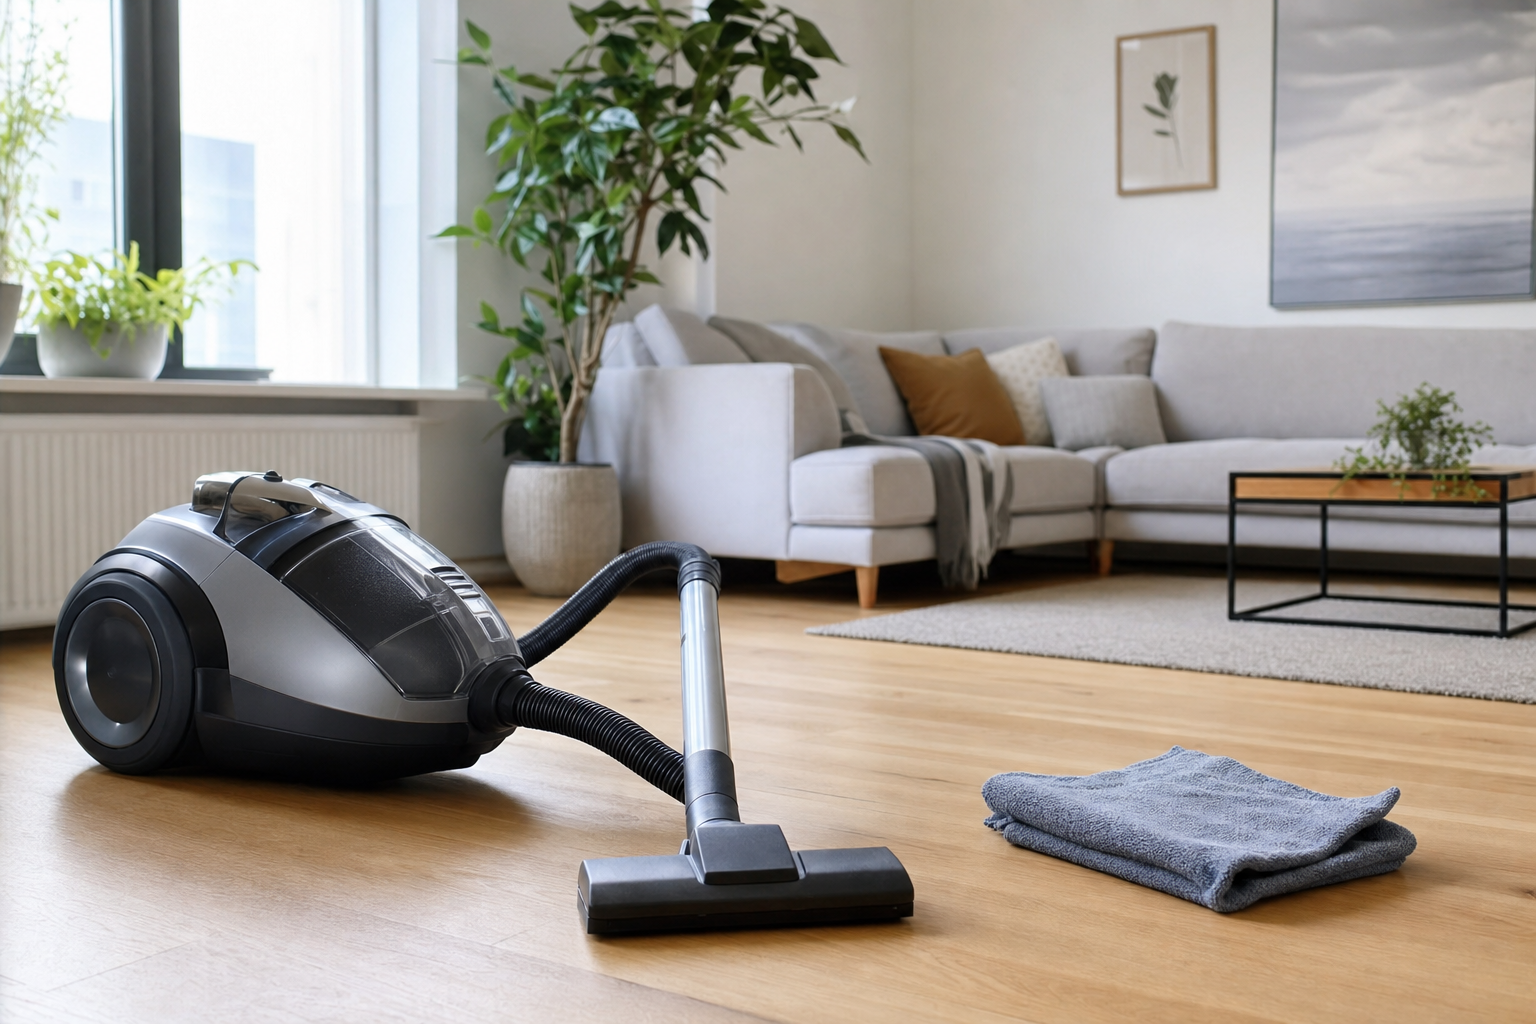
Gather equipment: industrial vacuum (HEPA if possible), microfiber cloths, mops, buckets, scrapers, PPE and labelled waste bags.
- Vacuum: A HEPA vacuum is ideal for construction dust. If you only have a standard vacuum, empty it frequently and avoid overfilling.
- Cloths: Microfibre cloths (dampened) pick up fine dust more effectively than feather dusters.
- Tools: Plastic scraper, non-scratch pads, soft brushes, spare bin liners and sealable bags.
- Products: pH-neutral surface cleaner, degreaser for kitchens, and surface-specific cleaners (stone, stainless steel, wood finishes).
Set a realistic sequence: high dust areas first, then surfaces, then floors.
- Work top to bottom and dry to wet (capture dust before introducing water).
- Clean rooms in an order that prevents re-contamination—finish the dirtiest spaces first so you’re not tracking dust through clean areas.
- For an extra structure, use this companion resource: after-builders cleaning checklist & tips.
2. Safety, PPE and hazardous waste
Construction cleaning can involve fine particles, sharp debris and strong chemicals. Treat it differently from routine housekeeping.
Wear appropriate PPE: masks (FFP2 for dusty jobs), gloves and eye protection when scraping or using solvents.
- Use an FFP2 mask when vacuuming heavy dust, sanding residue, or dealing with old insulation dust.
- Wear gloves to protect against splinters, sharp tile chips and chemical cleaners.
- Use eye protection if you’re scraping paint spots or working above head height.
Keep products ventilated; never mix bleach with acidic cleaners.
- Open windows while cleaning; use extractors or fans where possible.
- Do not mix cleaners (for example bleach with limescale remover or vinegar). If you’re switching products, rinse the surface first.
Contain and dispose of any hazardous waste (solvents, paint tins, adhesives) according to local council guidance—contact your local borough for specifics.
- Keep leftover chemicals sealed and upright, away from children and pets.
- Bag sharp debris (blades, tile fragments) separately and label it.
- Check your borough’s household waste rules for paint, solvents and adhesives—disposal approaches vary across London. Visit your borough website for exact drop-off or collection guidance.
3. Dust control and removal (start top-down) — post-renovation cleaning essentials
Fine dust is the main reason post-renovation cleaning takes time. The goal is to capture it, not spread it.
Begin at high points: ceilings, light fittings, coving and vents—use a brush or vacuum with attachments.
- Vacuum cobwebs and plaster dust from corners, coving and ceiling edges.
- For light fittings, switch off power if needed and wipe carefully—dust can sit inside shades and on bulbs.
- Vacuum vent covers and extractor grilles with a soft brush attachment.
Work down walls and windows, then furniture and finally floors to avoid re-soiling cleaned areas.
- Dry-vacuum walls with a brush attachment if they’re dusty (especially freshly sanded areas).
- Wipe paintwork with a lightly damp microfibre cloth—avoid soaking newly painted surfaces.
- Clean windows last in each room, once surrounding dust is under control.
Use tack cloths or damp microfibre to pick up fine dust rather than dry dusting which spreads particles.
- Fold cloths so you can switch to a clean side often.
- Rinse and wring frequently; dirty water just redistributes residue.
- If you’d like extra context on why dust behaves the way it does (and how to stop it coming back quickly), see household dust: origins and prevention.
Clean and replace HVAC filters; vacuum accessible duct covers and vent grilles.
- Replace cooker hood and ventilation filters if they’ve captured building dust.
- Vacuum around radiators and behind furniture where dust settles in “drift lines”.
- If dust has clearly entered ducting during major works, consider professional inspection and cleaning.
4. Room-by-room sequence and priorities
Once airborne dust is under control, move room-by-room. Keep doors closed where possible to prevent dust travelling back into cleaned areas.
Kitchen: remove dust from cabinets before wiping interiors; clean appliances and degrease surfaces; check worktops for scratches or adhesive residue.
- Vacuum cabinet tops, plinths and hinges first, then wipe with a mild cleaner.
- Wipe inside drawers and cupboards—construction dust often sits on runners and shelf edges.
- Degrease splashbacks and hob areas (even if unused, renovation residue can be oily from hands and tools).
- Check worktops for protective film glue and remove gently (see residue section below).
Bathrooms: descale fixtures, remove grout haze, clean showers and sanitaryware; ventilate to reduce damp risk.
- Remove grout haze with a suitable cleaner (avoid harsh acids on natural stone tiles).
- Rinse thoroughly—haze and builder’s residue can dull tiles if left behind.
- Clean extractor fans and keep windows open after cleaning to help drying and reduce condensation.
Living spaces and bedrooms: vacuum upholstery and mattresses (or arrange professional steam/cleaning if contaminated), clean curtains/blinds, wipe skirting boards and sockets.
- Vacuum upholstery slowly with an upholstery tool; do multiple passes for fine dust.
- Wipe skirting boards, door frames and handles—these pick up fingerprints and plaster dust.
- For sockets and switches: switch off at the consumer unit if you’re concerned, and wipe carefully with a barely damp cloth (never spray directly).
Hallways and stairs: clear construction debris first, then clean railings and skirting thoroughly.
- Start by removing rubble, cardboard and protective coverings.
- Vacuum edges of stairs and along runners where grit collects.
- Clean bannisters and handrails last—so they stay clean once you stop carrying items through.
If you want a more detailed workflow for each room, use this room-by-room guide for a professional-standard clean alongside your post-renovation plan.
5. Floors: best approach by floor type
Floors take the most punishment during building work. Your priority is to remove grit safely first—scratches often happen when dust and rubble are dragged across the surface.
Hardwood/engineered wood: remove grit and dust with a soft-head vacuum or broom; use a lightly damp mop and a cleaner recommended for the finish.
- Vacuum using a soft head to avoid scuffing.
- Use as little water as possible; overwetting can swell wood or dull finishes.
- Avoid abrasive pads—fine builder’s dust plus friction can create a hazy look.
Tiled floors: sweep then mop with a pH-appropriate cleaner; pay attention to grout lines for haze or staining.
- Start with a vacuum or sweep, then mop with clean water first to lift fine dust.
- Follow with a suitable cleaner; change water frequently.
- Use a soft grout brush for lines where residue has settled.
Carpets and rugs: vacuum thoroughly then assess for deep cleaning—heavy soiling or dust embedded during works often needs professional cleaning (hot water extraction).
- Vacuum slowly in multiple directions to lift dust from the pile.
- If the carpet feels gritty underfoot or looks dull after vacuuming, it may need deeper treatment.
- For DIY guidance before deciding, see how to clean your carpet — tips and tricks.
Protect cleaned floors with temporary runners while finishing touches are completed.
- Use clean dust sheets or runners for final snagging visits.
- Ask contractors to remove shoes or use overshoes to avoid fresh marks.
6. Removing paint, adhesive and tape residue
Residue removal is where many home restoration efforts go wrong—too much force or the wrong chemical can damage new finishes. Go slowly and test first.
Test a small hidden area first before applying solvents or scrapers to paintwork and aluminium frames.
- Choose a discreet spot (inside a cupboard edge or low corner).
- Check for colour transfer, dulling or surface softening before continuing.
Use a plastic scraper and warm soapy water for fresh residue; specialist removers or isopropyl alcohol for tougher adhesive—avoid damage to surrounding finishes.
- Start with the mildest option: warm water + washing-up liquid and a microfibre cloth.
- Lift residue with a plastic scraper rather than metal to reduce scratch risk.
- Use isopropyl alcohol sparingly on glass and some hard surfaces; ventilate well and keep away from flames.
- For detailed methods on glass, follow how to clean tape residue off windows & glass.
For aluminium window profiles and fragile trims, consider specialist techniques or professional help to avoid marking.
- Aluminium frames can scratch or discolour if treated aggressively.
- If you’re dealing with paint on frames, use a cautious, surface-specific approach: removing paint from aluminium window profiles.
7. Cleaning fixtures, appliances and cabinetry
After construction cleaning, appliances and cabinetry often look “clean” but still hold dust in seals, vents and edges.
Empty and clean inside ovens, microwaves, fridges and extractors—remove construction dust from seals and vents.
- Wipe fridge door seals and handles; dust can lodge in folds.
- Clean microwaves inside and out—even unused appliances collect airborne dust.
- Vacuum extractor vents and wipe the outer casing.
Wipe cabinet interiors and door edges, check hinges and handles for trapped dust.
- Run a damp cloth along door tops and edges where dust forms a thin line.
- Use a dry brush (or vacuum attachment) around hinges before wiping to avoid smearing gritty dust.
Polish stainless steel and stone surfaces with recommended cleaners to restore their appearance without damaging seals.
- Use a dedicated stainless-steel cleaner or a lightly damp microfibre followed by a dry buff (always test first).
- For natural stone, avoid acidic products; use stone-safe cleaners to protect sealants.
8. Tackling odours and off-gassing from new materials
Paints, adhesives and new flooring can produce lingering smells. The most effective approach is ventilation plus source control—not heavy fragrance.
Increase ventilation: open windows and use extractors or fans to expel fumes from paint, adhesives and new flooring.
- Create cross-ventilation by opening windows on opposite sides of the property.
- Run bathroom and kitchen extractors for longer periods during the first week after works.
Clean soft furnishings and carpets to remove trapped VOCs and dust; consider airing removable cushions and curtains outdoors.
- Vacuum sofas and fabric chairs thoroughly (including under cushions).
- Wash curtains if care labels allow, or air them out to reduce trapped smells.
If odours persist, use odour absorbers and address sources (leftover chemicals, damp areas) rather than masking smells.
- Remove or seal leftover paint tins and adhesives—open containers can continue to off-gas.
- Check for damp patches behind new cabinets or around freshly sealed bathrooms.
- For more targeted tips, read how to remove odours from new furniture and carpets.
9. Mould risks after renovation and when to act
Renovations can change airflow and uncover hidden moisture issues. Keep an eye on humidity and condensation during the first few weeks.
Watch for condensation or damp patches after works—renovation can disturb hidden moisture.
- Look for persistent condensation on windows, damp corners, or a musty smell.
- Pay attention to newly boxed-in pipes, converted basements, and bathrooms with limited ventilation.
Small surface mould can be managed with appropriate cleaners and improved ventilation; extensive or recurring mould should be assessed by a professional removal specialist.
- For small areas, clean carefully using an appropriate mould cleaner and dry the surface fully afterwards.
- If mould keeps returning, the underlying moisture source needs addressing (leaks, insufficient ventilation, cold bridging).
- To understand when professional help is sensible, see why professional mould removal services are worth the investment.
Dry the area quickly and keep humidity low; consider extracting residual moisture with dehumidifiers.
- Use a dehumidifier in newly plastered or recently sealed rooms where moisture lingers.
- Keep doors closed in damp-prone spaces to manage humidity more effectively.
10. Final checks, touch-ups and maintenance plan
A final inspection is the difference between “mostly clean” and truly restored. Build in time for touch-ups.
Do a walk-through with a checklist to catch missed spots: sockets, light switches, door frames, and window sills.
- Check from different angles in natural daylight—fine dust is easier to spot with raking light.
- Run your finger along skirting tops and window ledges; if you see residue, re-wipe with a clean cloth.
Replace HVAC filters and schedule regular cleaning of carpets and vents to prevent dust re-settlement.
- Change filters again a few weeks after moving back in if dust continues to circulate.
- Plan a follow-up vacuum of vents and high ledges—fine dust can settle after the initial clean.
Leave a short maintenance plan for occupants: ventilation routines, recommended cleaning frequencies and products for any sensitive finishes.
- Note what products are safe for stone, wood finishes and specialist coatings.
- Set a simple routine: daily ventilation, weekly dusting of high surfaces, and regular vacuuming with a good filter.
11. When to hire professional construction or post-renovation cleaning
DIY post-renovation cleaning is possible, but some situations are genuinely hard to manage without commercial equipment or extra hands.
Consider professionals for heavy construction dust, delicate surfaces, large jobs, carpets contaminated with fine dust, or when you need a quick turnaround.
- If dust is visibly embedded in carpets, rugs or upholstery, professional extraction can remove what household vacuums leave behind.
- If your property has multiple rooms affected, a team can complete the work faster and more systematically.
- Delicate materials (natural stone, specialty paints, aluminium frames) benefit from experienced, low-risk methods.
Professionals bring specialist equipment (HEPA vacuums, industrial extractors) and can manage waste disposal and hazardous materials safely.
- HEPA filtration helps reduce fine particle re-circulation.
- Industrial tools speed up floor restoration and deep cleaning where dust is stubborn.
Ask providers for a clear scope (after-builders cleaning, deep clean, carpet cleaning) and compare references or local reviews.
- Confirm what’s included: inside cupboards, appliance interiors, window frames, paint spot removal, and waste handling.
- Be clear about the renovation type (kitchen refit, full rewire, plastering throughout) so the cleaner can plan properly.
12. Practical checklist to finish the job
Use this quick list to ensure your construction cleaning and home restoration work is complete before you settle back in.
Top-to-bottom dust removal and vacuuming (including vents and lights).
- Ceilings, coving, lights, vents and high ledges cleaned first.
- Walls wiped as needed; skirting boards and door frames finished.
Surface wipe-downs with appropriate cleaners and polish where needed.
- Kitchen and bathroom surfaces degreased/descaled appropriately.
- Stainless steel and stone finished with surface-safe products.
Floor cleaning, spot-treatments and protective runners until all trades are done.
- Grit removed before mopping; grout haze addressed on tiles.
- Carpets assessed for deep cleaning if they remain dull or dusty.
Final inspection and fresh air circulation for at least one day if possible.
- Windows opened where safe; extractors run to help odours disperse.
- Any recurring damp or mould signs investigated early.