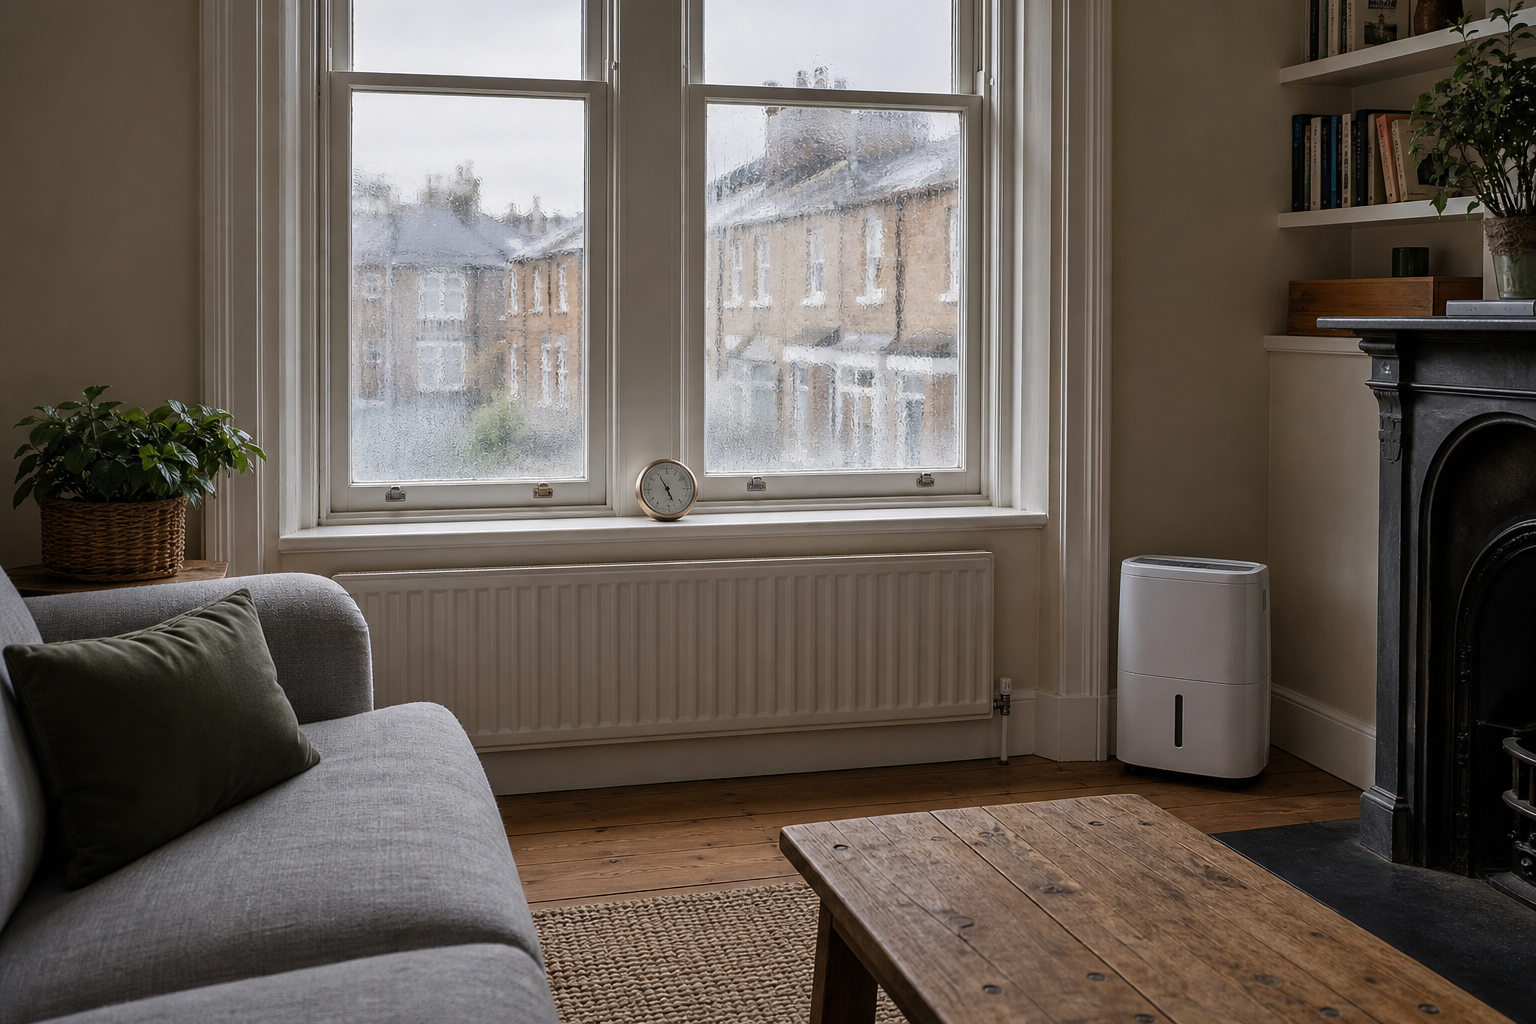
Why period properties are especially prone to mould
Mould needs two things: moisture and a surface cool enough for that moisture to linger. Many London period homes unintentionally provide both. If you’re dealing with mould in period properties, the goal is to reduce indoor humidity and warm up (or protect) the coldest surfaces so condensation doesn’t settle and feed spores.
Common physical constraints
- Single‑glazed windows and older frames create very cold internal surfaces in winter, so water vapour condenses on panes, sills and frames (especially overnight).
- Limited or blocked ventilation is common where chimneys are sealed, air bricks are covered, or previous refurbishments reduced natural airflow without adding modern extraction.
- Thick, solid walls (often brick with lime-based materials) can be colder to the touch than modern cavity walls, creating “cold corners” that attract condensation mould.
- Loft and roof details in older buildings can be less effective than modern equivalents. Blocked soffit vents, poorly sealed roof penetrations, or unused chimneys can contribute to damp air and cold bridging.
Typical indoor habits that increase moisture
- Drying washing indoors without extraction or a dehumidifier can release litres of moisture into the air.
- Infrequent heating or big temperature swings (warm evenings, cold nights) encourage condensation on cold surfaces.
- High‑moisture rooms without adequate extraction (kitchens and bathrooms) push humid air into colder bedrooms and living rooms where it condenses behind furniture.
Spotting mould and where to check first
Early detection matters. Small patches are usually easier to control; once mould has spread into porous materials (plaster, wallpaper, soft furnishings), it can become a repeating problem.
High‑risk locations
- Behind wardrobes and beds on external walls. If you can’t comfortably fit your hand between the furniture and the wall, airflow is likely too restricted.
- Around window frames and sills, particularly on single glazing and in bays where cold bridging is common.
- Bathroom ceilings and shower surrounds, especially above the shower line and on silicone sealant where moisture sits.
- Skirting boards, wall junctions and cold corners on external walls (north-facing rooms are often worst).
Distinguishing surface mould from structural damp
- Surface mould/condensation mould often looks like speckled black/green spotting, can wipe off (at least partly), and is linked to cold surfaces, poor ventilation and high humidity. A musty smell is common.
- Rising or penetrating damp is more likely when you see tide marks, flaking or bubbling plaster, or salty deposits on walls. This typically needs investigation (leaks, gutters, pointing, roof issues, plumbing, or damp proofing defects).
If you’re unsure, treat it as a moisture-source problem first: check for leaks and improve ventilation while arranging a survey if signs suggest building fabric damp.
- Persistent wet patches that don’t dry after ventilation and heating.
- Visible water trails, tide marks or staining that spreads upward/downward.
- New or worsening mould after heavy rain or when a gutter/roof area is known to be faulty.
- Dripping, pooling or damp smells near pipe runs, under sinks or around window reveals.
Low‑cost, realistic mitigation measures you can start today
For most London homes, effective condensation mould solutions are less about expensive renovations and more about consistent routines: remove moist air, reduce moisture creation, and stop humid air reaching cold surfaces.
Ventilation and airflow
- Use extractor fans properly: run during cooking/showering and keep running for 15–20 minutes afterwards. If the fan is weak or noisy, clean the cover and check for dust build-up (a surprisingly common cause of poor airflow).
- Short bursts of cross‑ventilation: opening two windows on opposite sides of the flat/house for 5–10 minutes can dump humid air quickly without chilling walls as much as leaving one window cracked all day.
- Create airflow behind furniture: aim for a small gap (often 5–10cm) between large items and external walls. In tight rooms, even a small gap plus occasional repositioning helps.
- Keep internal doors strategically managed: after showers or cooking, keep the kitchen/bathroom door closed while the extractor runs to stop moist air spreading to colder rooms.
Condensation around glazing is a major trigger for mould prevention London flats. For window-specific steps, see remove window condensation & prevent mould in London.
Heating and moisture management
- Maintain low background heat in colder months where possible. Period homes often respond better to steadier temperatures than dramatic on/off heating (which can lead to cold walls and more condensation).
- Reduce indoor drying: if you must dry clothes indoors, choose one room, shut the door, open a window slightly and/or run a dehumidifier. Avoid drying on radiators (it drives moisture into the air quickly).
- Cooking moisture control: use pan lids, keep the extractor on, and avoid simmering uncovered for long periods. If your hob is near a cold external wall, condensation can form quickly.
- Bathroom habits: after showers, squeegee tiles/screen and hang wet towels so they dry quickly (not bunched in a pile). This reduces the “wet time” that mould thrives on.
Affordable materials and small upgrades
- Trickle vents/window vents: if your windows have them, keep them open in winter. If not, ask about retrofitting options (especially in bedrooms) to support background ventilation.
- Secondary glazing or insulated curtains: these can reduce cold surfaces and help limit window condensation. In listed buildings or rentals, check permissions before installing anything permanent.
- Breathable finishes: once moisture sources are under control, breathable paints can be more suitable on older solid walls than highly sealing coatings. Avoid “locking in” damp by painting over recurring moisture without fixing the cause.
Tools and routine checks
- Use a hygrometer to monitor relative humidity (RH). It helps you identify which rooms spike after showers, cooking or drying laundry, and whether your changes are working.
- Wipe condensation daily from windows/sills and dry wet surfaces promptly—especially in bedrooms where moisture can build overnight.
- Check vents and filters: clean extractor fan covers, make sure external vent grilles aren’t blocked, and confirm that air bricks (if present) haven’t been sealed or painted over.
- Look outside too: overflowing gutters, cracked pointing, and dripping overflow pipes can soak external walls and worsen internal damp patches.
Safe DIY removal for small areas
You can often remove mould in a period property when it’s limited to small, surface patches. The key is to protect yourself, avoid spreading spores, and follow up with prevention—otherwise it commonly returns.
When DIY is appropriate
- Small areas of surface mould on hard, non‑porous surfaces (tiles, sealed painted wood, some painted walls) can often be cleaned safely.
- If anyone in the household has asthma, severe allergies, or other respiratory conditions, consider professional help rather than DIY, especially if the mould is in a bedroom.
- If mould is on porous materials (plasterboard, wallpaper, untreated timber, soft furnishings), DIY wiping may remove the visible marks but not the underlying growth.
Basic safety and technique
- Wear PPE: gloves, eye protection and a well-fitting mask suitable for cleaning aerosols/particles. Keep children and pets away while you work.
- Don’t dry brush or sand mould. This can release spores into the air and spread contamination.
- Dampen first: lightly mist the area (so spores are less likely to become airborne), then wipe with a cloth using mild detergent and water or a purpose-made mould cleaner, following label instructions.
- Rinse and dry: after cleaning, wipe with clean water (if appropriate for the surface) and dry thoroughly. Mould regrowth is far more likely if the area stays damp.
- Dispose carefully: bag used cloths/paper towels. Wash reusable cloths on a hot cycle if safe for the fabric.
- Soft furnishings: if the smell and staining persist, or the item has been damp for a long time, replacement may be more realistic than repeated cleaning.
For step-by-step methods, see how to remove black mould: a step‑by‑step approach. If the problem is mainly in the bathroom, this guide is also helpful: remove mould from bathroom walls and ceilings safely.
When to call a professional mould remediation service
Some mould problems are symptoms of larger moisture issues—particularly in older London buildings where ventilation is limited and there may be hidden voids, old pipework, or external defects. Professional support is most useful when you need both removal and a reliable plan to stop recurrence.
Clear triggers for professional help
- Widespread mould across multiple rooms or a large area on one wall/ceiling.
- Rapid recurrence after cleaning, even when you’ve improved ventilation and moisture habits.
- Suspected hidden mould (musty smell with little visible mould, or mould appearing around skirtings, behind built-ins, or after a leak).
- Damaged finishes such as crumbling plaster, lifting wallpaper, or stained ceilings that suggest water ingress rather than simple condensation.
- Health concerns where symptoms worsen in the property (persistent coughing, wheezing, eye irritation). In these cases, prioritise safety and get the situation assessed.
What professionals can do that DIY cannot
- Identify the moisture source: assessing whether the issue is mainly condensation, a leak, or building-fabric damp, and advising what to fix first.
- Controlled removal: reducing cross-contamination, using appropriate methods for different surfaces, and advising on salvage vs disposal of porous materials.
- Practical improvement recommendations: for example, upgrading extraction, improving airflow routes, or advising on condensation reduction around problem windows.
If you’re weighing up whether it’s worth escalating, this may help: why professional mould removal services are worth the investment.
Landlord and tenant responsibilities in London period properties
In rentals, mould often becomes contentious because causes can be mixed: lifestyle moisture (showers, cooking, drying clothes) interacts with building constraints (single glazing, weak extraction, cold walls). A practical approach is to document the issue and focus on reasonable steps while the root cause is investigated.
Practical approach for tenants
- Report early: notify your landlord/managing agent as soon as mould appears or you suspect a leak. Include photos, dates, and where it occurs (e.g., “behind wardrobe on external wall”).
- Keep a simple record: note when mould returns after cleaning, any extractor fan issues, and whether windows/frames are heavily condensing each morning.
- Follow reasonable guidance: use extractor fans, ventilate after showers/cooking, and avoid prolonged indoor drying where possible. This both helps the issue and keeps communication clear.
What landlords should consider
- Investigate recurring mould for underlying defects (leaks, gutters, roof issues, failed seals around windows, bridging). Repainting alone rarely solves persistent mould.
- Improve extraction/ventilation where feasible, especially in kitchens and bathrooms, and ensure vents discharge correctly and aren’t blocked.
- Consider period-appropriate upgrades: solutions like secondary glazing or improved trickle ventilation may reduce condensation without major structural change (permissions allowing).
For practical next steps on responsibility, see who is responsible for mould removal: landlord or tenant?
A quick, practical action checklist for London homeowners and tenants
If you want a simple plan you can follow without overhauling the building, use this timeline. It’s designed for real-world London living and common constraints in period flats and terraces.
Immediate (within 24–48 hours)
- Wipe visible condensation on windows/sills and dry the area thoroughly.
- Clean small surface mould patches using safe methods (PPE, damp wipe, then dry).
- Run extractor fans during and after cooking/showering; keep bathroom/kitchen doors closed while moisture clears.
- Reduce or relocate indoor drying of washing; if unavoidable, ventilate that room and consider a dehumidifier.
This week
- Check for obvious leaks under sinks, around the toilet cistern, radiator valves, and window seals.
- Place a hygrometer in the worst room and track humidity patterns (morning vs evening, after showers, etc.).
- Pull wardrobes/beds slightly off external walls and check behind them for early spotting.
- Clean extractor covers/filters and ensure external vents (where visible) are not blocked.
If the problem persists
- Arrange a damp/condensation assessment (through your landlord, managing agent, or an independent surveyor) if signs suggest structural damp or the mould keeps returning.
- Consider professional mould assessment and remedial cleaning, especially if mould is widespread, affecting porous materials, or impacting health.
Contact the team for practical advice: If mould is widespread, persistent or linked to leaks, Go Cleaners London can arrange an assessment and remedial cleaning tailored to period properties. Read more about professional options at why professional mould removal services are worth the investment or contact us for a no‑pressure chat about practical next steps.