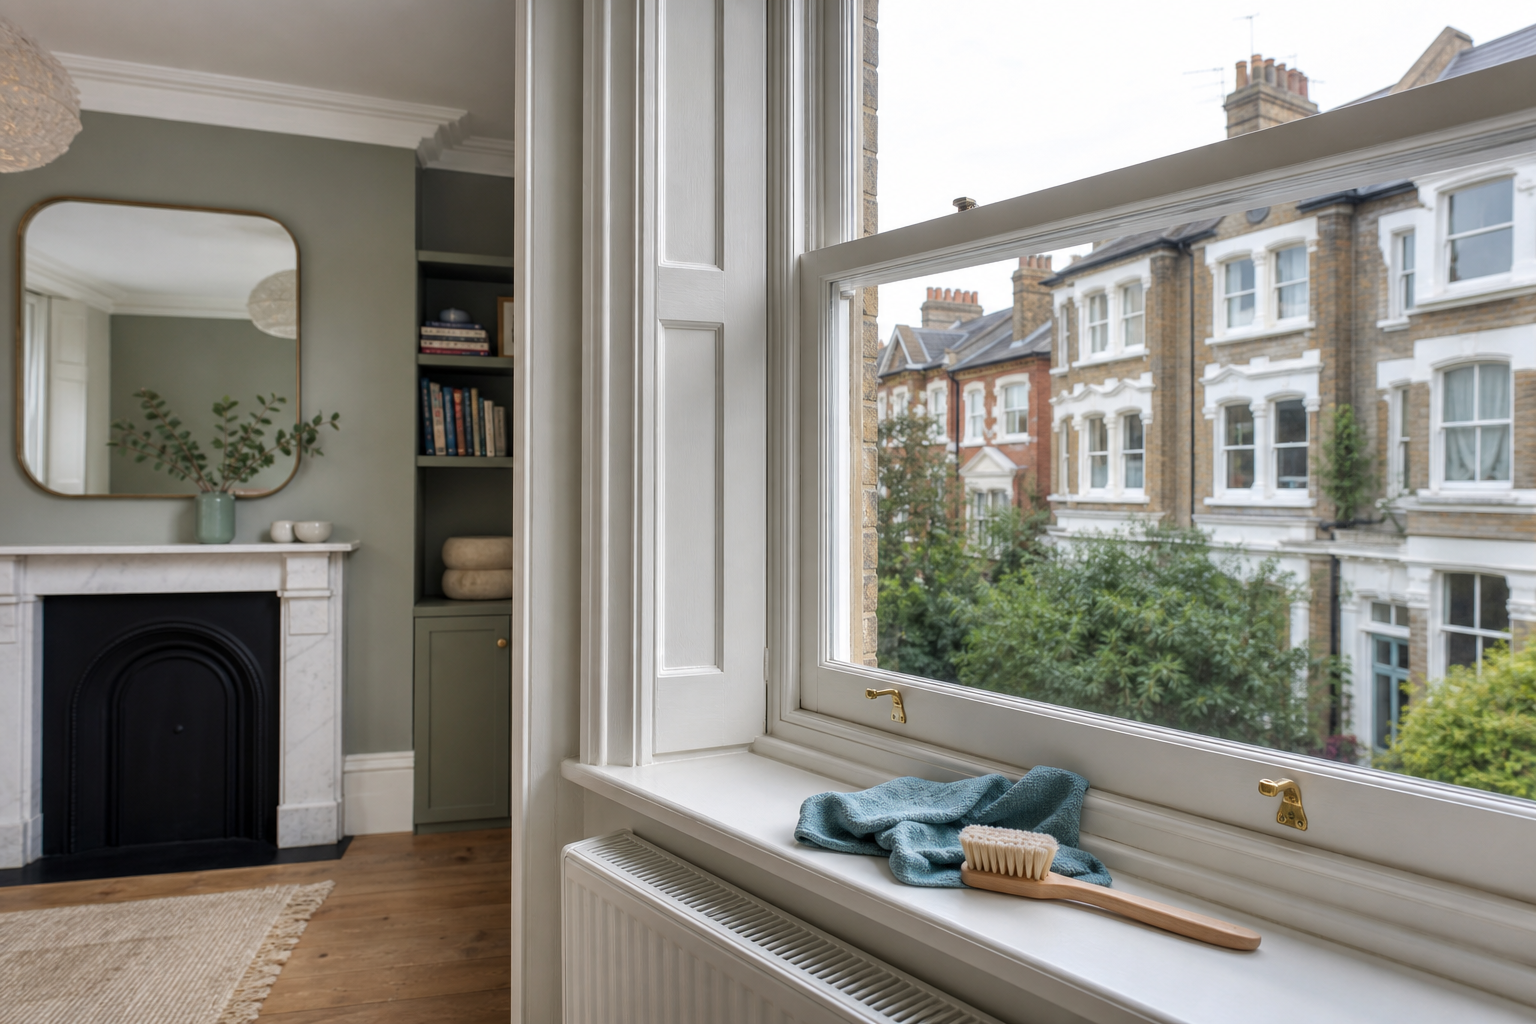
Victorian sash windows are one of the best features of London period homes, but they’re also easy to damage if you clean them like modern uPVC. Heavy road-film pollution, damp winters, narrow access and older (sometimes fragile) paint finishes mean you need a careful, low‑risk approach.
This guide to Victorian sash window cleaning sets out practical, step-by-step methods to remove grime, keep sashes moving and reduce condensation—without scrubbing, sanding or stripping historic paintwork.
1. Safety checks and permissions (before you start)
Check for loose glazing, rotten timber or bulging panes — stop and get advice if the frame is unstable.
Before any wet cleaning, do a quick visual inspection with the window closed, then slightly open if it moves freely:
- Glass and putty: look for rattling panes, crumbling putty, gaps around the glazing, or movement when you press very gently near the edges.
- Timber condition: check the bottom rail and lower corners (common rot points). If timber feels soft, spongy or looks swollen, avoid soaking it.
- Paint condition: note flaking, blistering or “alligatoring” paint. These areas should be wiped lightly only—no scrubbing.
If you see loose glass, severe rot, or a sash that appears twisted or jammed, don’t force it. Cleaning won’t fix structural issues and can make them worse by introducing moisture.
If windows are on an upper floor, confirm safe access and whether building or landlord permission is required for external work.
Many London flats (especially leasehold) have rules about external work, ladders and access to communal areas. If you need to clean the outside at height:
- Confirm what’s allowed in your lease, or with your landlord/managing agent.
- Do not lean out of upper-floor sash windows to reach exterior glass.
- If in doubt, read our guide on cleaning outside windows and your rights in London.
Consider health risks: if paint is old and flaking, assume it could contain lead and do not sand or scrape without a specialist.
Older properties may have layers of historic paint. If paint is powdery, thickly layered or flaking, take a cautious approach:
- Avoid dry sanding, aggressive scraping and power tools.
- Keep dust down—use a vacuum with a brush head rather than brushing vigorously.
- Wash hands after cleaning and keep children and pets away from dust sheets and debris.
If you suspect lead paint, seek advice from a conservation joiner/decorator or an appropriate specialist before any preparation work beyond gentle cleaning.
2. Tools and low‑risk materials to use
Soft brushes (natural or soft nylon), microfibre cloths, sponge and a non‑abrasive plastic scraper.
Your aim is to lift grime, not abrade paint. A simple kit works best:
- Soft detailing brush (or a clean, soft paintbrush) for mouldings and corners
- Microfibre cloths (several—keep one for paintwork only)
- Non-scratch sponge for glass
- Non-abrasive plastic scraper for glass only (never painted timber)
- Squeegee (optional but helpful for streak-free glass)
Mild, pH‑neutral detergent or diluted washing‑up liquid; white vinegar solution (for stubborn grime) as a gentle alternative.
For most London homes, you can clean effectively with:
- Warm water + a few drops of washing-up liquid (keep it weak—too much leaves residue)
- Vinegar solution for traffic film/soot marks: 1 part white vinegar to 4 parts water (avoid on bare timber and test first on painted areas)
If you prefer a product-free approach, see how to clean windows without window cleaner using common household items.
Cotton buds for sash channels and small crevices, a small vacuum with brush attachment, and silicone‑free lubricant for moving parts.
- Cotton buds (or a wrapped cloth on a blunt stick) for tight corners
- Vacuum with brush attachment to remove dust without scraping paint
- Silicone-free lubricant suitable for window hardware (used sparingly)
Avoid strong solvents, caustic cleaners, wire brushes, high‑pressure washers and abrasive pads that can damage paint or glazing.
These are the most common causes of “accidental restoration” (i.e., stripped paintwork and damaged putty):
- Oven cleaner, bleach gels used neat, sugar soap used aggressively, and solvent-based degreasers
- Scouring pads, wire wool, melamine “magic” sponges on paint
- Steam cleaners and pressure washers (can drive moisture into timber and loosen putty)
3. Preparation: protect surfaces and paintwork
Lay dust sheets or towels below the window to catch drips and debris.
Place an absorbent towel on the sill and a dust sheet on the floor. This reduces the temptation to use too little water on the glass (which can lead to over-rubbing and scratches).
Remove curtains, blinds and any fragile items from the window area.
Take down or tie back curtains and move plants, ornaments and lamps away from the sill. If you’re cleaning near fabric blinds, keep solution minimal to avoid splashes and water marks.
Work on a calm day to reduce rapid drying and streaking; for outside cleaning in London, choose a less polluted day if possible.
Direct sun can dry solution too quickly, leaving residue. If you’re facing a main road, consider cleaning after rain has settled dust (but only once the glass has dried), and plan to do light cleans more often rather than one heavy scrub.
4. Step‑by‑step internal cleaning (gentle approach)
1) Dry dust: start with a soft brush or vacuum with brush head to remove loose dust from sash boxes, beads and mouldings.
Start dry. This prevents turning dust into gritty sludge that can scratch paint and glass.
- Brush the top edge of the lower sash, the meeting rail, then the sill.
- Vacuum along the staff bead and any accessible channel edges using a soft brush head.
- If you find flaking paint, do not “clean it off”. Just remove loose dust around it.
2) Clean glass: use warm water with a few drops of neutral detergent, wash with a soft sponge, then squeegee or wipe with a microfibre cloth.
Mix a weak solution (warm water + a few drops of detergent). Then:
- Wipe the glass with a non-scratch sponge (top to bottom).
- Squeegee in overlapping strokes, wiping the blade each pass.
- Buff edges with a clean, dry microfibre cloth.
If you often get smears, it’s usually residue (too much detergent) or rapid drying. Our guide on why windows still look dirty after washing helps you troubleshoot without switching to harsher chemicals.
3) Clean paintwork: dampen a microfibre cloth with plain water or very mild detergent; wipe gently along the grain — do not scrub flaking areas.
Painted timber should be cleaned with minimal moisture:
- Wring the cloth until it’s just damp.
- Wipe with the grain of the timber and follow the profile of mouldings rather than scrubbing across them.
- For sticky fingerprints near catches, hold the damp cloth on the spot for 10–15 seconds to soften grime, then wipe gently.
Avoid letting water sit on the bottom rail and sill—these are the first areas to swell and degrade.
4) Sash cords and pulleys: vacuum the channels, wipe accessible cords with a damp cloth and note any frayed cords for repair.
If the window opens smoothly, lower the top sash slightly (if possible) and raise the bottom sash a little to expose more of the inner frame. Then:
- Vacuum any visible dust in the pulley stile area (the vertical frame where cords run).
- Wipe cords gently—don’t saturate them.
- Look for fraying, slackness or cords that disappear into the box (a sign they may have snapped).
5) Dry thoroughly: allow paintwork and timber to dry completely before closing sashes to prevent trapping moisture.
Use a dry cloth to finish timber and edges. Leave the sashes slightly open (where safe to do so) until everything is fully dry. Trapping moisture inside the channel can contribute to paint failure, swelling and mould.
5. External cleaning and dealing with London pollution
Use the same gentle detergent solution for external glass and frames; rinse frequently to avoid leaving road film residues.
External grime in London is often a combination of soot, brake dust and oily film. Keep it gentle:
- Use the same weak detergent solution, but change the water frequently.
- Rinse and wipe again rather than pressing harder.
- Dry the lower edges well to prevent water sitting on paint lines and putty.
For heavy traffic grime, repeat light washes rather than one aggressive treatment; consider a mild vinegar solution (1 part vinegar to 4 parts water) for soot marks.
If the glass still looks dull after one pass, do a second light wash. For stubborn soot marks:
- Spot-test the vinegar solution on a small area first.
- Apply with a cloth to the glass (avoid flooding surrounding timber).
- Rinse with clean water and dry.
If access is limited, use an extendable pole with a soft brush or hire a window cleaner who offers heritage‑friendly cleaning.
Narrow frontages, basement areas and rear lightwells can make access awkward. If you use a pole:
- Choose a soft brush head and keep the pressure low.
- Work slowly to avoid splashing dirty water onto the frame and sill.
- Don’t attempt to “scrub off” paint spots or stubborn marks—this is where paintwork gets damaged.
Check local building rules or leasehold terms if you need scaffolding or ladder access to outside windows.
For anything requiring ladders/scaffold towers, confirm permissions and safe working methods first. If you’re unsure what’s permitted, refer to cleaning outside windows and your rights in London and speak to your managing agent/landlord.
6. Cleaning sash channels and avoiding paint stripping
Remove loose dirt with brush and vacuum first; use a damp cloth for remaining grime — avoid scraping painted surfaces.
Sash channels are where most people accidentally strip paint. The safe order is:
- Dry brush the channel edges and the sill detail.
- Vacuum with a brush attachment to lift dust from corners.
- Wipe with a barely damp cloth wrapped around a finger or blunt tool to reach tight areas.
If you feel resistance, don’t assume it needs scraping—often it’s just compacted dust.
If paint is flaking in a channel, do not over‑clean. Stabilise the area by gently removing only loose flakes and consult a conservation joiner for repainting.
Over-cleaning a flaking channel can quickly become paint removal. A cautious approach:
- Lift only what is already loose (no levering).
- Keep the area dry as much as possible.
- Document it with a photo so you can monitor whether it’s worsening.
For sticky windows, identify cause (old paint, grime or swollen timber) rather than forcefully levering sashes — gentle cleaning and drying often restores movement.
If a sash is sticking:
- Check for paint bridging along the meeting rails (paint sealing the window shut). Don’t cut it yourself unless you’re confident and can do so without damaging edges.
- Check for damp swelling: after rain or condensation, timber can swell slightly. Let it dry fully before trying again.
- Clean the contact points (beads and channel edges) with a dry brush and vacuum, then a light damp wipe.
If you need force to move the sash, stop—forcing can snap cords or crack brittle paint lines.
7. Dealing with damp, condensation and mould (London issues)
First, reduce moisture sources: improve ventilation, use extractor fans and limit drying laundry by windows.
Cleaning mould without reducing moisture is a short-term fix. Practical steps that suit many London homes:
- Run bathroom and kitchen extractor fans longer (especially after showers and cooking).
- Keep airflow around the window clear—avoid pushing furniture tight against external walls.
- Avoid drying laundry directly by sash windows where possible.
For a deeper walkthrough, see our guide on remove window condensation and prevent mould.
To clean light mould on frames: use a 1:10 dilution of household bleach or a fungicidal wash as the label directs, test on a small area first and rinse well. For painted historic finishes, prefer specialist mould cleaners or professional remediation.
If you have small mould spots on painted timber:
- Ventilate the room (open another window if possible).
- Wear gloves and avoid splashing.
- Test your chosen product on an inconspicuous area first.
- Apply with a cloth (not a spray, to limit drift onto paint edges).
- Wipe, then rinse with a clean damp cloth and dry thoroughly.
Important: Bleach solutions can discolour some paints and may not suit delicate or historic finishes. If your paintwork is fragile or already failing, a specialist mould cleaner (or professional help) is lower risk.
Address recurring condensation by improving airflow around windows (keep trickle vents open where possible) and ensure timbers are allowed to dry between treatments.
To reduce repeat wetting of the bottom rail and sill:
- Wipe condensation in the morning during colder months.
- Keep trickle vents open (if fitted) and avoid sealing the room completely.
- After cleaning, ensure the channels and sill are dry before closing the window.
8. Minor repairs, lubrication and maintenance checks
Lubricate pulleys and weights with a silicone‑free lubricant designed for heritage windows — avoid oiling paint surfaces.
If the sash moves but feels stiff, lubrication can help—but keep it controlled:
- Apply a tiny amount of silicone-free lubricant to moving metal parts (pulleys/catches) using a cloth or cotton bud.
- Wipe away any excess immediately.
- Avoid getting lubricant on paintwork; it can attract dirt and may interfere with future touch-ups.
Tighten loose screws, replace cracked putty or lining where possible using soft tools; leave major repairs (re‑puttying leaded glass, full repainting or cord replacement) to a joiner or sash specialist.
You can do light checks without turning it into a renovation:
- Gently tighten loose handles/catches if screws are accessible.
- Note gaps in putty or beading (don’t dig out old putty during cleaning).
- Check for draughts—sometimes a simple adjustment or brush pile replacement is needed (best handled by a sash specialist if you’re unsure).
Record condition with photos and set a regular inspection schedule (every 6–12 months) to catch problems early.
A quick set of photos (sill corners, bottom rail, meeting rail, and any flaking paint) helps you see whether issues are stable or worsening. Early attention prevents rot and costly repairs.
9. When to call a professional sash/window conservation specialist
If timber is rotten, glass is loose, paint is heavily flaking or you suspect lead paint, stop DIY work and get a specialist assessment.
Call a professional if you notice:
- Soft/rotten timber, especially on the bottom rail or sill
- Loose panes, failing putty, or cracking around glazing bars
- Sashes that won’t stay up (cord/weight issues) or are severely jammed
- Extensive flaking paint or suspected lead paint where preparation is required
Use professional services for external high‑level access, major sash repairs, full redecoration or heritage restoration to avoid accidental damage.
High-level external work and heritage restoration are situations where “a careful DIY attempt” can still cause damage. A conservation-minded specialist can preserve original fabric and avoid unnecessary stripping.
10. Suggested maintenance schedule for Victorian sash windows
Monthly: dust tracks and wipe glass.
- Dry dust the sill and accessible channel edges
- Light glass clean with minimal solution
Every 3–6 months: clean frames gently, check for signs of damp or flaking paint.
- Gentle wipe-down of painted timber (damp cloth only)
- Check for mould spots and address moisture causes
- Inspect putty lines and lower corners for early deterioration
Annually: full inspection, test sash movement, check cords/weights and arrange any minor repairs.
- Open/close both sashes (where possible) and note sticking points
- Check catches, screws and pulleys
- Photograph any changes in paint failure or timber condition
Need help assessing or cleaning your Victorian sash windows in London? Contact the team for practical advice—we can point you towards heritage-safe cleaning options and, where needed, recommend the right next steps for specialist repairs.